Installing a Lorex Wireless Security Camera System can be easy. This guide will help you step by step. You will feel safe at home with your new cameras.
What You Need
Before you start, gather all the tools and items. Here is a list of what you need:
- Lorex Wireless Security Camera Kit
- Power adapters
- Mounting brackets
- Screws and anchors
- Drill
- Smartphone or tablet
- Wi-Fi network
Step 1: Plan Your Camera Placement
Before installation, think about where to place your cameras. Here are some tips:
- Cover main entry points like doors and windows.
- Look for places with a clear view.
- Avoid areas with too many obstacles.
- Make sure cameras are out of reach of vandals.
Step 2: Charge the Cameras
Next, charge your cameras. Most Lorex cameras need to be charged before use. Follow these steps:
- Plug the power adapter into the camera.
- Connect the other end to a power outlet.
- Let the camera charge for a few hours.
Step 3: Download the Lorex App
You need the Lorex app for your smartphone or tablet. Here is how to get it:
- Open the App Store or Google Play Store.
- Search for “Lorex.”
- Download and install the app.

Step 4: Connect the Cameras to Your Wi-Fi
Now, it’s time to connect your cameras to the Wi-Fi. Follow these steps:
- Open the Lorex app.
- Create an account or log in.
- Choose “Add Device.”
- Follow the on-screen instructions.
- Connect your camera to your Wi-Fi network.
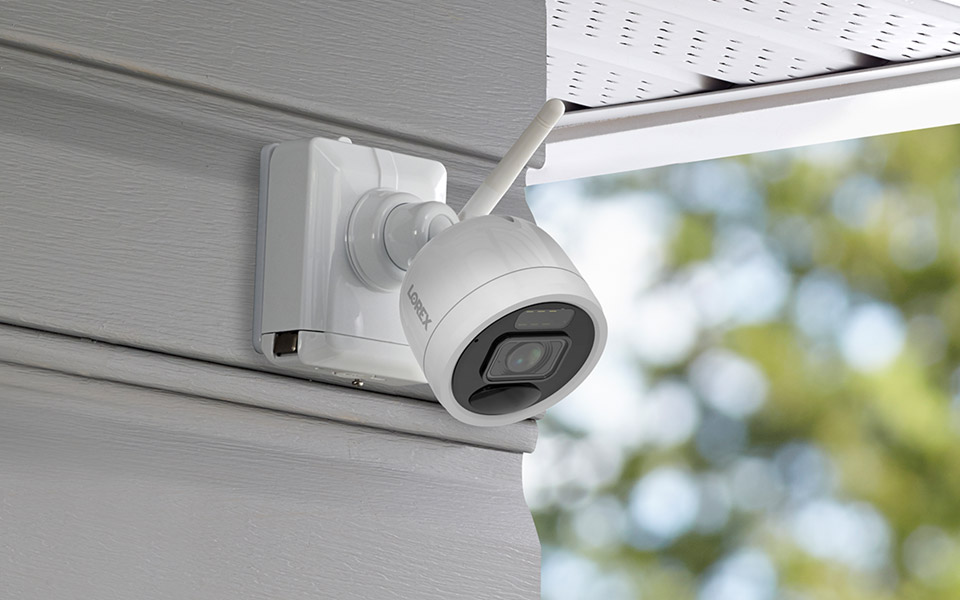
Step 5: Mount the Cameras
Once the cameras are connected, it’s time to mount them. Here’s how:
- Choose the best spot based on your plan.
- Use the mounting bracket as a guide.
- Mark the spots where you will drill holes.
- Drill holes for the screws.
- Attach the mounting bracket with screws.
- Attach the camera to the bracket.
Step 6: Adjust the Camera Angles
After mounting, adjust the camera angles. Make sure they point at important areas. Check if the view is clear and wide.
Step 7: Test the Cameras
Now, it’s time to test your cameras. Here’s how to do it:
- Open the Lorex app on your phone.
- View the live feed from each camera.
- Check if the video is clear and smooth.
- Make adjustments if needed.
Step 8: Set Up Alerts
Alerts keep you informed. Set them up in the app:
- Go to the settings in the Lorex app.
- Choose “Notifications.”
- Enable alerts for motion detection.
Step 9: Regular Maintenance
Keep your cameras in good shape. Here are some tips for regular maintenance:
- Check the battery levels monthly.
- Clean the camera lenses regularly.
- Ensure Wi-Fi connections are strong.
Frequently Asked Questions
How Do I Set Up My Lorex Wireless Camera System?
To set up your Lorex camera system, follow the included instructions. Connect the cameras to power and sync them with the receiver.
What Tools Do I Need For Installation?
Basic tools like a drill, screwdriver, and ladder are often needed. You may also need a measuring tape for precise placement.
Can I Install Lorex Cameras Outdoors?
Yes, many Lorex cameras are designed for outdoor use. Make sure to check the specifications for weather resistance.
How Long Does It Take To Install The System?
Installation usually takes 1 to 2 hours. This can vary based on the number of cameras and your experience level.
Conclusion
Installing a Lorex Wireless Security Camera System is simple. Just follow these steps carefully. You will feel more secure at home. Always keep an eye on your cameras. They are your first line of defense.
Remember, safety is important. Take your time during installation. Check everything before finishing. With these cameras, you can protect your home easily.
Now you are ready to install your Lorex cameras. Enjoy your peace of mind!