Installing a Lorex security camera system can help keep your home safe. It lets you see what happens around your property. This guide will show you how to install one. It will be easy and clear. Let’s get started!
What You Need
Before you start, gather all your tools and equipment. Here is a list:
- Lorex security camera system
- Power cables
- Ethernet cables
- Drill
- Screwdriver
- Mounting brackets
- Level
- Computer or smartphone
Make sure you have everything. This will make the process smoother.
Choosing Camera Locations
Think about where to place your cameras. Good spots include:
- Front door
- Back door
- Garage
- Driveway
- Yard
Look for places that need extra safety. Make sure the cameras can see well. Avoid placing them where they can be easily blocked.
Installing the Cameras
Now let’s install the cameras. Follow these steps:
Step 1: Mark The Spots
Use a pencil to mark where the cameras will go. This helps you know where to drill. Make sure to check if the camera can view the area well.
Step 2: Drill Holes
Drill holes where you marked. Be careful and drill straight. Make sure the holes are big enough for the screws.
Step 3: Attach The Mounting Brackets
Use screws to attach the mounting brackets. Make sure they are tight. Use a level to check if they are straight.
Step 4: Connect The Cameras
Now connect the cameras to the power source. Use the power cables you gathered. Make sure the cables are safe and hidden.
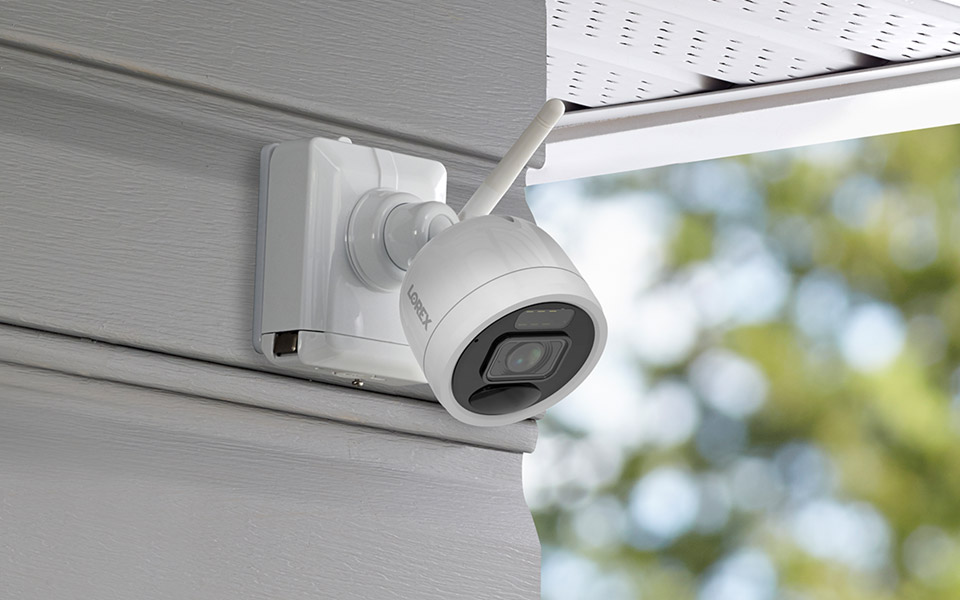
Step 5: Position The Cameras
Carefully place the cameras on the brackets. Adjust the angle for the best view. Check that they are secure.
Connecting the System
After installing the cameras, connect the system. Here are the steps:
Step 1: Connect The Dvr/nvr
Find a good spot for the DVR or NVR. This is the main unit. Connect it to a power source. Use a power cable to do this.
Step 2: Link The Cameras
Use Ethernet cables to connect the cameras to the DVR/NVR. Make sure they are in the correct ports. Check the manual if you are unsure.
Step 3: Connect To The Internet
If you want remote viewing, connect the DVR/NVR to the internet. Use a router and an Ethernet cable. Follow the instructions from your internet provider.
Setting Up the Software
Now it’s time to set up the software. This helps you view the cameras on your phone or computer.
Step 1: Install The App
Download the Lorex app on your phone or tablet. You can find it in the app store. Follow the instructions to install it.
Step 2: Create An Account
Open the app and create an account. You will need an email and a password. This helps keep your system secure.
Step 3: Add Your System
In the app, find the option to add a new device. Follow the prompts. Enter the details of your DVR/NVR. This usually includes the serial number.
Step 4: Test The Connection
After adding the system, test the connection. Open the app and check if you can see the camera feed. If it works, you are all set!
Final Steps
You have installed your Lorex security camera system. Now, let’s check a few more things:
Step 1: Adjust Camera Settings
Open the app and go to camera settings. You can adjust things like motion detection and alerts. Set them according to your needs.
Step 2: Set Up Notifications
Enable notifications for motion alerts. This lets you know if something happens. It keeps your property safe.
Step 3: Regular Maintenance
Check the cameras regularly. Make sure they are clean and working. Look for any loose connections. Tighten them if needed.
Troubleshooting Tips
If you face issues, here are some tips:
- Check all cable connections.
- Restart the DVR/NVR.
- Update the app if needed.
- Ensure the cameras are powered on.
If problems continue, consult the manual. You can also contact customer support.
Frequently Asked Questions
How Do I Set Up A Lorex Camera System?
Start by choosing a good location for your cameras. Follow the instructions in the user manual to connect all components.
What Tools Do I Need For Installation?
You will need a drill, screwdriver, and possibly a ladder. These tools help with mounting the cameras securely.
Can I Install Lorex Cameras Indoors?
Yes, Lorex cameras can be used indoors. Just make sure they are placed where they can capture clear images.
How Do I Connect Lorex Cameras To Wi-fi?
Use the Lorex app to connect your cameras to Wi-Fi. Follow the on-screen instructions for a smooth setup.
Conclusion
Installing a Lorex security camera system is simple. Follow these steps for a secure home. With your cameras in place, you can monitor your property. Enjoy peace of mind knowing you are safe.
Remember to check the cameras regularly. Adjust settings as needed. This will help keep your home secure.
Thank you for reading this guide. Now you know how to install a Lorex security camera system!