Adding a camera to cloud storage is important. It keeps your videos safe. This guide will help you add your Lorex camera to cloud storage. Follow these steps easily. Let’s begin!
What is Lorex?
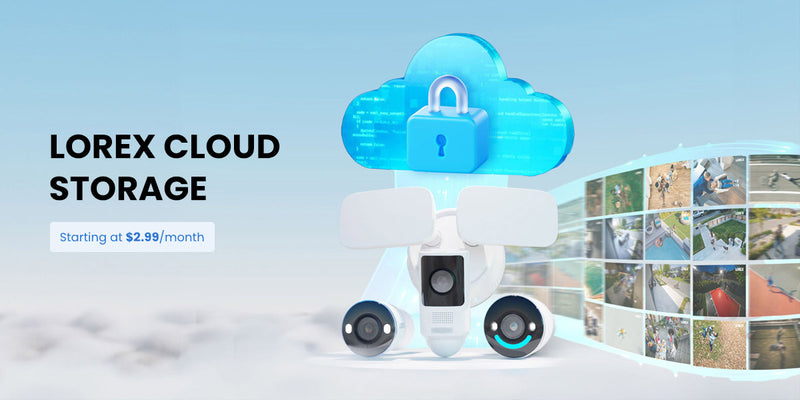
Lorex is a brand. They make security cameras. Their cameras help you keep an eye on your home. You can use them indoors and outdoors. They also offer cloud storage. Cloud storage saves your videos online. This keeps them safe from theft or loss.
Why Use Cloud Storage?
Cloud storage is helpful. Here are some reasons to use it:
- Safe Storage: Your videos are safe online.
- Easy Access: You can see your videos from anywhere.
- No Worry: You don’t need to worry about losing files.
What You Need
Before adding your camera to cloud storage, make sure you have:
- A Lorex camera.
- A Lorex account.
- A stable internet connection.
- The Lorex app installed on your phone or tablet.
Step 1: Create a Lorex Account
If you do not have a Lorex account, create one. Here’s how:
- Go to the Lorex website.
- Click on “Sign Up.”
- Fill out your information.
- Check your email for a confirmation link.
- Click the link to activate your account.

Step 2: Download the Lorex App
You need the Lorex app to add your camera. Follow these steps:
- Go to the App Store or Google Play Store.
- Search for “Lorex.”
- Download the app.
- Open the app after installation.
- Log in with your Lorex account.
Step 3: Connect Your Camera to Wi-Fi
Your camera needs to connect to Wi-Fi. Follow these steps:
- Turn on your Lorex camera.
- Open the Lorex app.
- Go to “Devices.”
- Tap “Add Device.”
- Follow the prompts to connect your camera to Wi-Fi.
Step 4: Add Camera to Cloud Storage
Now it is time to add your camera to cloud storage:
- In the Lorex app, go to “Settings.”
- Click on “Cloud Storage.”
- Choose “Add Camera.”
- Select your camera from the list.
- Follow the prompts to add it to cloud storage.
Step 5: Confirm Your Subscription
You may need to confirm your cloud storage subscription. Here’s what to do:
- Check your subscription plan.
- Make sure it covers your camera.
- If not, choose a plan that fits your needs.
Step 6: Test Your Camera
After adding your camera, test it. Here’s how:
- Go back to the main screen of the app.
- Select your camera.
- Check if you can see the live feed.
- Record a video to test the storage.
Step 7: Manage Your Cloud Storage
Managing your cloud storage is easy. Here are some tips:
- Check Storage Space: See how much space you have left.
- Delete Old Videos: Clear space by deleting old files.
- Upgrade Plan: Choose a bigger plan if needed.
Troubleshooting Common Issues
Sometimes things don’t work right. Here are some common issues and fixes:
- Camera Not Found: Make sure it is on Wi-Fi.
- Cannot Access Cloud: Check your internet connection.
- Video Not Saving: Ensure your subscription is active.
Frequently Asked Questions
How Do I Connect My Lorex Camera To Cloud Storage?
To connect your Lorex camera to cloud storage, open the Lorex app, log in, and follow the setup prompts to add your camera.
What Are The Benefits Of Using Cloud Storage For Lorex Cameras?
Cloud storage keeps your video safe and accessible. It prevents data loss if your device is stolen or damaged.
Can I Add Multiple Cameras To Lorex Cloud Storage?
Yes, you can add multiple cameras to your Lorex cloud storage. Just follow the same steps for each camera.
Is There A Fee For Lorex Cloud Storage?
Yes, Lorex cloud storage may require a subscription fee, depending on the plan you choose.
Conclusion
Adding your Lorex camera to cloud storage is simple. Follow these steps carefully. You will keep your videos safe. With cloud storage, you can access your videos anytime. Enjoy peace of mind knowing your home is secure.
If you need more help, check the Lorex support page. They offer guides and tips. You can also contact customer support for assistance.
Frequently Asked Questions
How Much Does Lorex Cloud Storage Cost?
The cost depends on your subscription plan. Check the Lorex website for prices.
Can I Access My Videos From Any Device?
Yes, you can access videos from your phone, tablet, or computer.
What If I Forget My Lorex Account Password?
You can reset your password using the “Forgot Password” link on the login page.
Is My Video Data Secure In Cloud Storage?
Yes, Lorex uses encryption to keep your data safe.
Can I Share My Cloud Storage With Others?
You can share access with trusted people through the app.
Now you know how to add your Lorex camera to cloud storage. Start securing your home today. Follow these steps and enjoy the benefits of cloud storage!