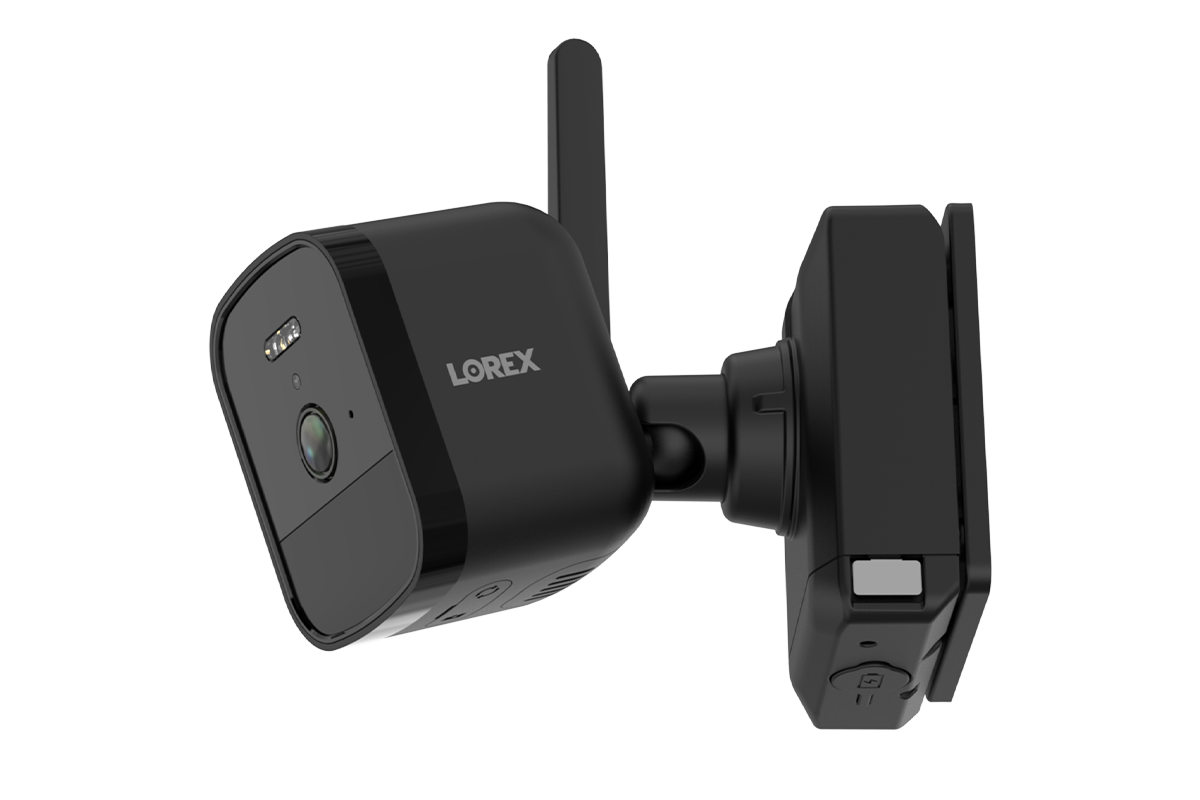
Setting up your Lorex camera can seem hard. But it’s easier than it looks. You can add your Lorex camera manually. This guide will help you do it step by step. Follow these instructions to get your camera working.
What You Need
Before you start, gather these items:
- Lorex camera
- Power adapter
- Network cable
- Router
- Monitor or screen
- Smartphone or tablet (optional)
Step 1: Set Up Your Camera
First, find a good spot for your camera. Choose a place that covers the area you want to watch. Make sure there is an outlet nearby. Plug in the power adapter to turn on the camera.
Step 2: Connect the Camera to the Network
You need to connect your camera to the internet. There are two ways to do this:
- Using a network cable
- Using Wi-Fi
Using A Network Cable
1. Take one end of the network cable.
2. Plug it into the camera.
3. Plug the other end into your router.
This method is usually faster and more stable.
Using Wi-fi
If you want to use Wi-Fi, follow these steps:
- Open the Lorex app on your smartphone or tablet.
- Log in to your account.
- Go to the camera settings.
- Choose Wi-Fi setup.
- Follow the on-screen instructions to connect.
Step 3: Access the Camera Menu
Now, you need to access the camera menu. Here’s how:
- Turn on your monitor or screen.
- Connect it to the DVR or NVR that came with your camera.
- Use the remote control to navigate.
Step 4: Add the Camera Manually
Follow these steps to add the camera:
- Go to the main menu on the screen.
- Select “Camera Setup.”
- Choose “Add Camera.”
- Pick “Manual Add.”
Enter Camera Details
You need to enter some details about the camera:
- Camera name
- Camera type (choose Lorex)
- IP address (check your router for this)
- Port number (default is usually 80)
After entering the details, click “OK” or “Save.”
Step 5: Check the Connection
Now it’s time to check if your camera is working. Here’s how:
- Go back to the main menu.
- Select “Live View.”
- Look for your newly added camera.
- If you see the video feed, you did it!
Troubleshooting Tips
If your camera does not show up, try these tips:
- Check all the connections.
- Make sure the camera is powered on.
- Restart your DVR/NVR and camera.
- Check your internet connection.
Final Steps
Your camera is now set up and ready to use. You can adjust the camera settings. This includes motion detection and alerts. Take time to explore the app. It can help you get the most from your camera.

Frequently Asked Questions
How Do I Add A Lorex Camera Manually?
To add a Lorex camera manually, access the camera settings on your DVR or NVR. Follow the prompts to register your camera.
What Are The Steps To Add A Lorex Camera?
Start by connecting the camera to power. Then, go to your DVR/NVR settings. Select “Add Camera” and follow the instructions.
Can I Add Multiple Lorex Cameras At Once?
Yes, you can add multiple Lorex cameras. Just repeat the adding process for each camera in your settings.
Do I Need An Internet Connection To Add Lorex Cameras?
No, you do not need the internet. You can add cameras directly through your DVR or NVR.
Conclusion
Adding a Lorex camera manually is simple. Just follow these steps. You now have a working camera. Monitor your home or business with ease. If you have any questions, refer to the Lorex manual or website.