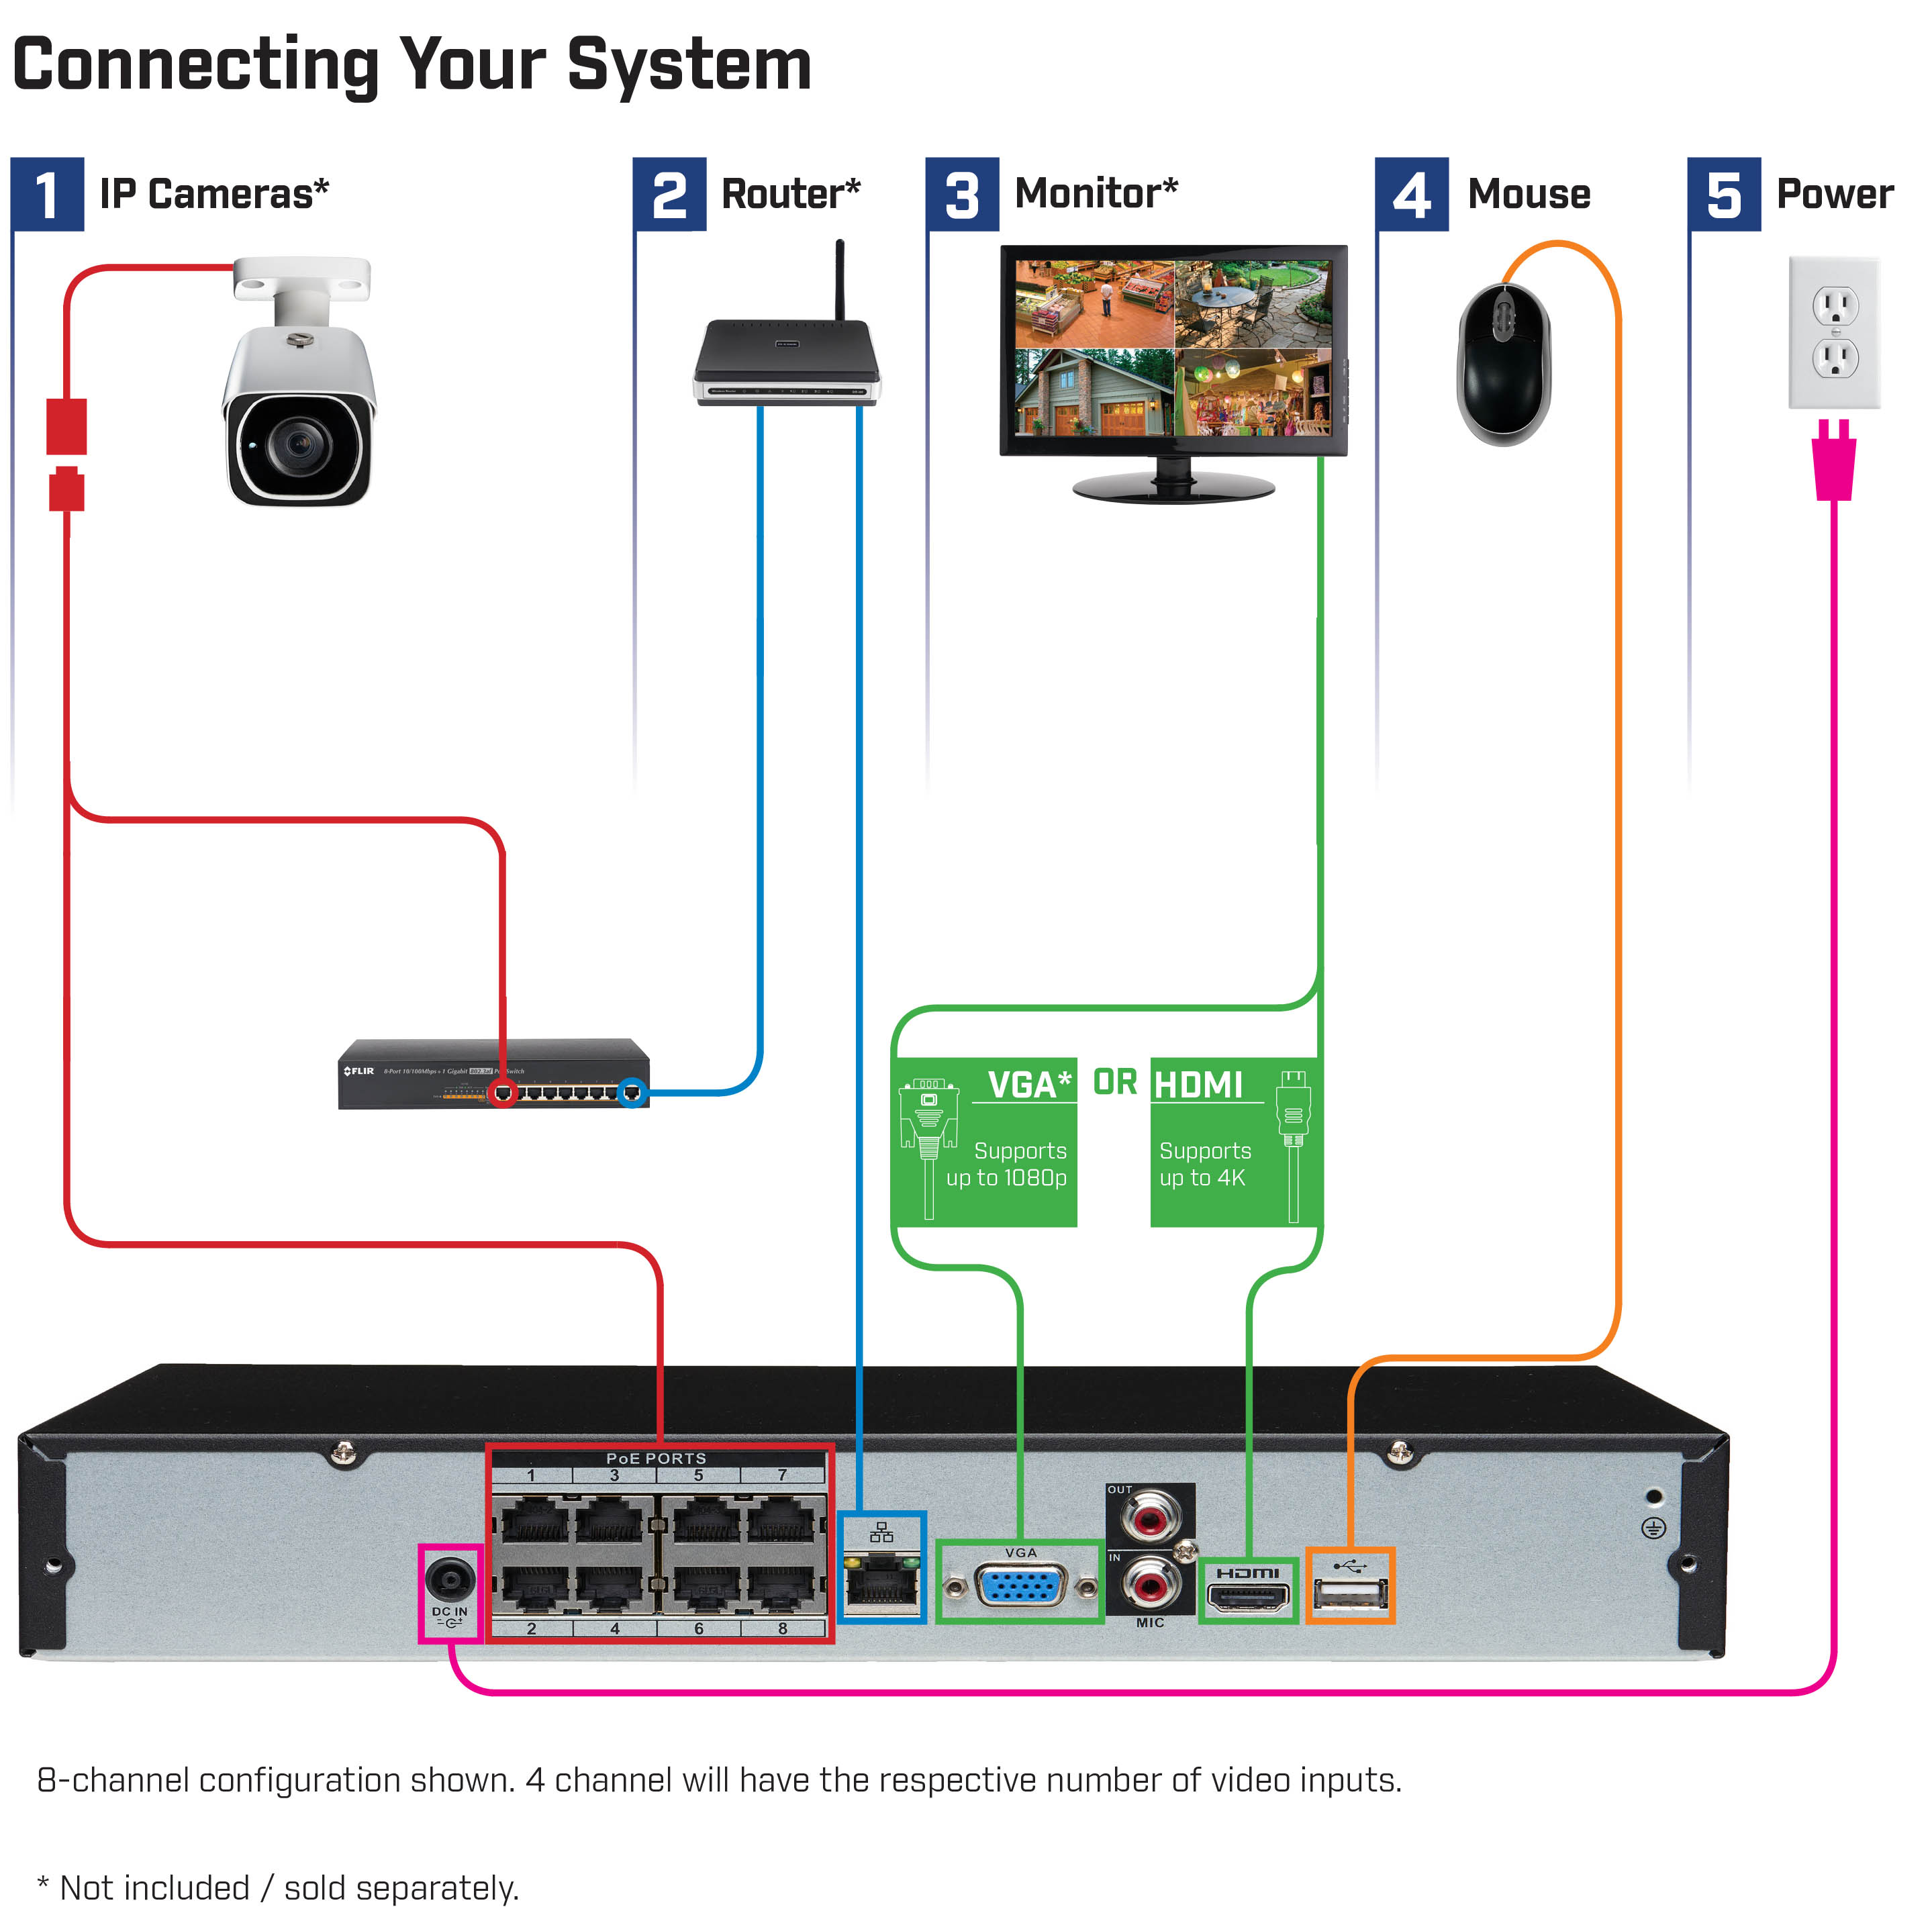
If you have a Lorex camera, you want it to work well. This guide helps you set up your camera. It is easy to follow. You can do it step by step.

What is a Lorex Camera?
A Lorex camera is a security camera. It helps you watch your home or business. You can see live video on your phone or computer. This way, you feel safe.
What Do You Need?
Before you start, gather these things:
- Lorex camera
- Power adapter
- Internet connection
- Smartphone or computer
- Lorex app or software
Step 1: Unbox Your Camera
First, take your camera out of the box. Check that all parts are there. You should have:
- Camera
- Power cord
- Mounting kit
- Quick start guide
Step 2: Choose a Good Spot
Next, find the right place for your camera. Here are some tips:
- High up for a better view
- Away from direct sunlight
- Near a power outlet
- Where you want to see
Step 3: Mount the Camera
Now, it’s time to mount your camera. Use the mounting kit. Follow these steps:
- Hold the camera where you want it.
- Mark the holes with a pencil.
- Drill holes if needed.
- Attach the camera with screws.
Step 4: Connect to Power
After mounting, connect the camera to power. Plug the power adapter into an outlet. Then, connect it to the camera. Wait for the camera to turn on. A light will blink.
Step 5: Download the Lorex App
Now, you need the Lorex app. It is free. Follow these steps:
- Open the app store on your smartphone.
- Search for “Lorex.”
- Download the Lorex app.
Step 6: Create an Account
Open the app. You need to create an account. Here’s how:
- Click on “Sign Up.”
- Enter your email and password.
- Follow the prompts to finish.
Step 7: Add Your Camera
Next, add your camera to the app. Do this:
- Open the app and log in.
- Click “Add Device.”
- Choose “Lorex Camera.”
Step 8: Connect to Wi-Fi
Your camera needs Wi-Fi. Follow these steps:
- Choose your Wi-Fi network in the app.
- Enter your Wi-Fi password.
- Click “Connect.”
Wait for the app to connect. This may take a few minutes.
Step 9: Adjust Camera Settings
You can change the camera settings. Here are some options:
- Set motion detection.
- Change video quality.
- Adjust night vision settings.
Choose what works best for you.
Step 10: Test Your Camera
Now, test your camera. Open the app and check the live view. Make sure you can see clearly. Walk around the area to see if motion detection works.
Troubleshooting Tips
If you have problems, don’t worry. Here are some tips:
- Check your Wi-Fi connection.
- Restart your camera and app.
- Make sure the camera is plugged in.
If problems continue, check the manual. You can also visit the Lorex website for help.
Frequently Asked Questions
How Do I Set Up My Lorex Camera?
To set up your Lorex camera, connect it to power and your Wi-Fi. Then, use the Lorex app for easy configuration.
What App Do I Need For Lorex Cameras?
You need the Lorex Home app to configure and monitor your Lorex cameras effectively.
How Do I Connect Lorex Camera To Wi-fi?
Access the Lorex app, select your camera, and follow the prompts to connect it to your Wi-Fi network.
Can I Access Lorex Cameras Remotely?
Yes, you can access your Lorex cameras remotely through the Lorex Home app on your smartphone.
Conclusion
Configuring your Lorex camera is easy. Follow the steps. You will have a working camera soon. Enjoy peace of mind. You can watch your home or business from anywhere. Keep your loved ones safe.
FAQs
1. Can I Use My Lorex Camera Outdoors?
Yes, many Lorex cameras are weatherproof. Check your model for details.
2. Do I Need A Subscription For Cloud Storage?
Some features may require a subscription. Check with Lorex for options.
3. Can I Access My Camera From Multiple Devices?
Yes, you can log in from your phone and computer.
4. What If I Forget My Password?
You can reset your password in the app. Follow the prompts.
5. How Do I Update My Camera’s Firmware?
Check the app for firmware updates. Follow the instructions provided.