Lorex is a popular brand for security cameras. Many people use these cameras to keep their homes safe. Adding a camera to your Lorex system is easy. This guide will help you add a camera step by step.
What You Need
Before you start, make sure you have the following:
- A Lorex security camera.
- A Lorex DVR or NVR.
- Power supply for the camera.
- Internet connection (if using IP cameras).
- A smartphone or computer to set up the camera.
Types of Lorex Cameras
Lorex offers different types of cameras. Here are the main types:
- Wired Cameras: These connect to the DVR/NVR with cables.
- Wireless Cameras: These connect without cables using Wi-Fi.
- IP Cameras: These use the Internet to send video.
Step 1: Connect Your Camera
The first step is to connect your camera. Follow these steps:
For Wired Cameras
- Find a good spot for your camera.
- Run the cable from the camera to your DVR/NVR.
- Connect the camera to a power supply.
- Plug the cable into the DVR/NVR.
For Wireless Cameras
- Find a good spot for your camera.
- Make sure the camera is near your Wi-Fi router.
- Plug the camera into a power outlet.
- Connect the camera to your Wi-Fi network using the app.
Step 2: Set Up the Camera on Your Device
Next, you need to set up the camera on your device. Here’s how:
Using A Smartphone
- Download the Lorex app from the app store.
- Open the app and create an account.
- Log in to your account.
- Click on “Add Camera” in the app.
- Follow the prompts to add your camera.
Using A Computer
- Go to the Lorex website.
- Log in to your account.
- Click on “Add Camera” in the menu.
- Follow the instructions to add your camera.
Step 3: Adjust Camera Settings
Once your camera is added, you can adjust its settings. Here are some common settings:
- Motion Detection: Turn this on to get alerts.
- Resolution: Choose the video quality you want.
- Nights Vision: Make sure this is enabled for night use.
Step 4: Test Your Camera
After setting up, test your camera. Make sure it works well. Here’s how:
- Open the Lorex app or website.
- View the live feed from your camera.
- Walk in front of the camera to check motion detection.
- Check the video quality and night vision.

Troubleshooting Common Issues
If you have problems, don’t worry. Here are some common issues and how to fix them:
Camera Not Connecting
Make sure:
- The camera is powered on.
- All cables are connected properly.
- Your Wi-Fi is working if it’s a wireless camera.
Poor Video Quality
Check these things:
- Adjust the resolution settings in the app.
- Make sure the camera lens is clean.
- Ensure there is good lighting in the area.
Motion Detection Not Working
For this issue:
- Check if motion detection is turned on.
- Adjust the motion detection settings in the app.
- Make sure the camera is pointed at the area you want to monitor.

Additional Tips for Using Lorex Cameras
Here are some tips to get the most from your cameras:
- Regularly check your camera’s firmware for updates.
- Keep your app updated for the best features.
- Position cameras to cover all entry points.
- Use strong passwords for your accounts.
Frequently Asked Questions
How Do I Add A Camera To My Lorex System?
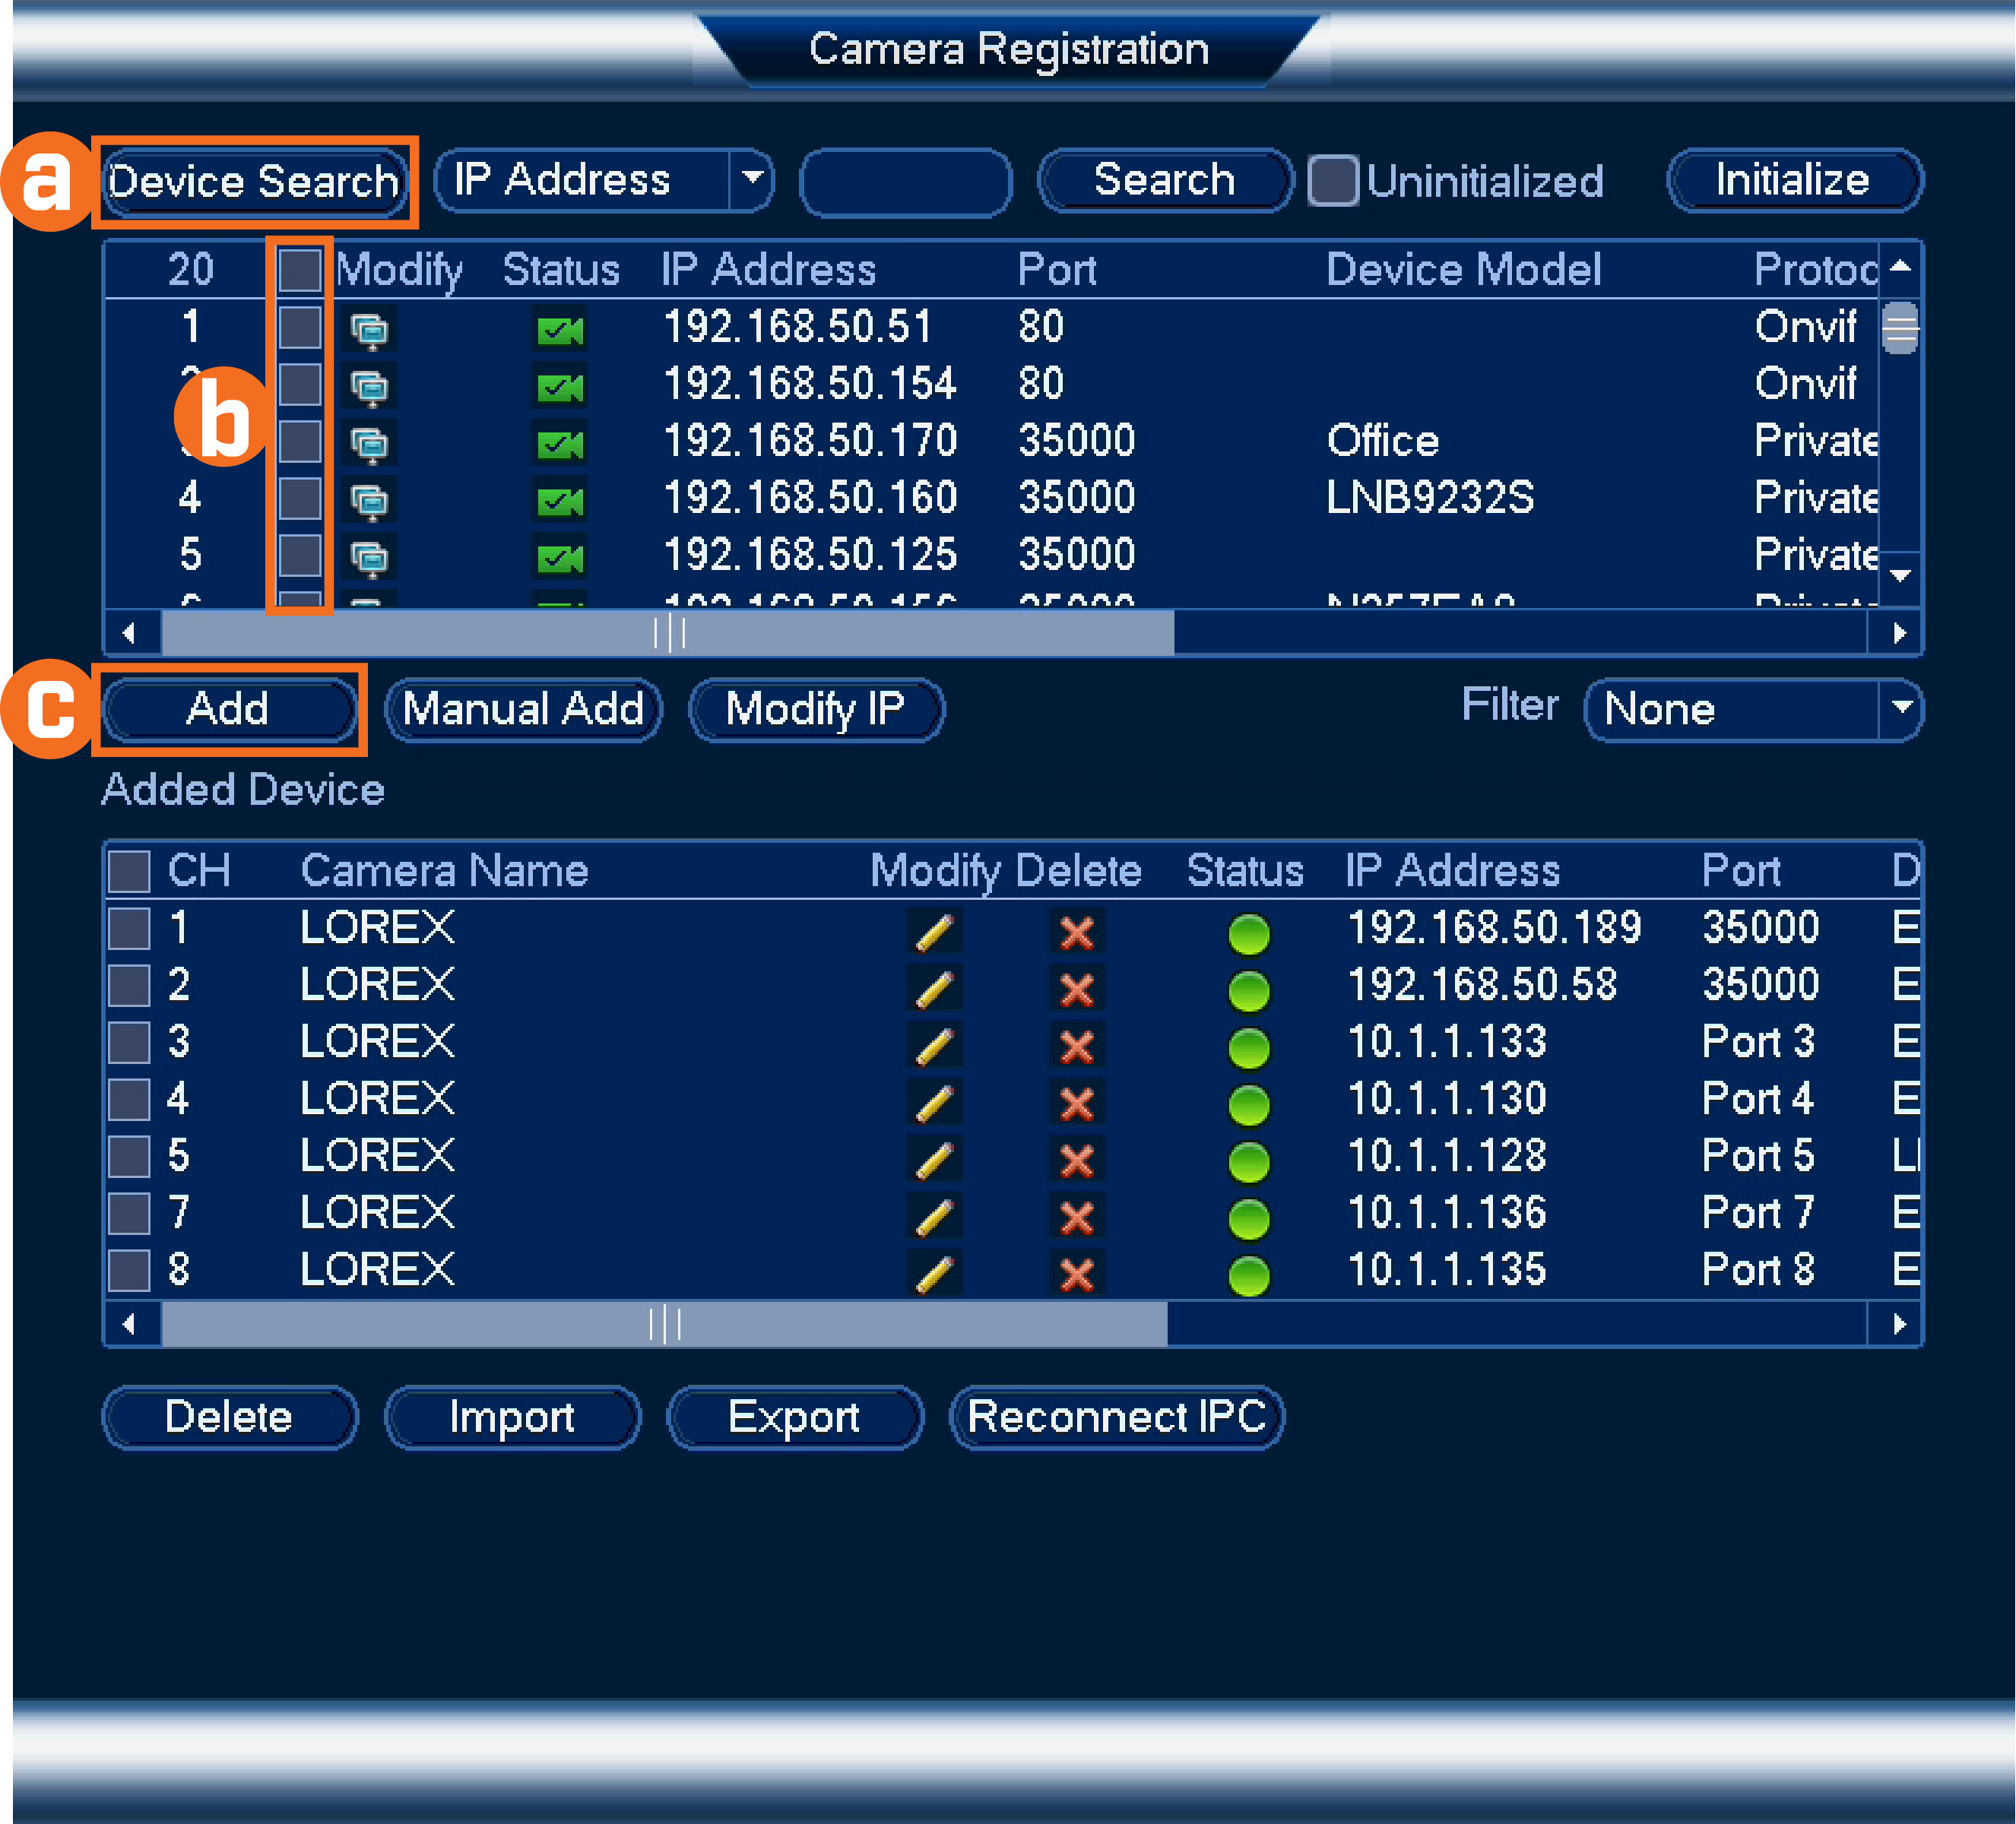
To add a camera, go to the settings on your Lorex DVR. Select “Add Camera” and follow the prompts.
What Types Of Cameras Can I Add To Lorex?
You can add IP cameras, wired cameras, and wireless cameras compatible with your Lorex system.
Can I Add Multiple Cameras At Once?
Yes, you can add multiple cameras simultaneously during the setup process.
Do I Need Special Tools To Add A Lorex Camera?
Basic tools like a screwdriver and a drill may be needed for installation.
Conclusion
Adding a Lorex camera is a simple process. Follow these steps, and you will keep your home safe. Always remember to test the camera after setting it up. Regular checks will help you catch any issues early. With the right setup, you can monitor your home easily. Enjoy the peace of mind that comes with security cameras!