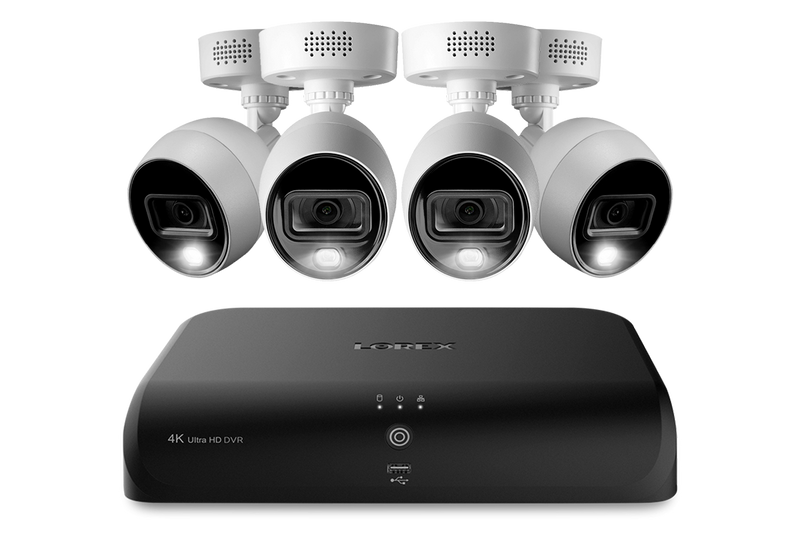
Lorex cameras are popular for home security. They help you watch over your home and loved ones. Sometimes, the LED lights on your Lorex camera may need changing. This guide will help you understand how to do it easily.
What is an LED?
LED stands for Light Emitting Diode. It is a small light source. LEDs are bright and use less energy. They are very common in cameras, including Lorex cameras. They help you see in the dark. They also show if the camera is working.
Why Change the LED?
There are a few reasons to change the LED in your Lorex camera:
- The LED is not lighting up.
- The LED is flickering or dim.
- You want to upgrade to a better LED.
Changing the LED can help improve your camera’s performance. It ensures you see clearly at night.
Tools You Will Need
Before you start, gather these tools:
- Screwdriver (usually Phillips)
- New LED light
- Small container for screws
- Soft cloth
- Gloves (optional)
Having the right tools makes the job easier.
Steps to Change the LED on Lorex Camera
Now, let’s go through the steps to change the LED.
Step 1: Turn Off The Power
Safety is important. Always turn off the power before doing any work. Unplug the camera or switch off the circuit breaker. This helps prevent electric shocks.
Step 2: Remove The Camera From Its Mount
Use a screwdriver to remove the camera from its mount. Place the screws in the small container. This keeps them safe.
Step 3: Open The Camera Housing
Carefully open the camera’s housing. You may need to unscrew some screws. Use the soft cloth to handle the camera gently. This prevents scratches.
Step 4: Locate The Led
Once open, look for the LED light. It is usually near the lens. Take a moment to see how it is connected.
Step 5: Remove The Old Led
Carefully disconnect the old LED. It may have wires or clips holding it. Gently pull it out without damaging other parts.
Step 6: Install The New Led
Now, take the new LED. Connect it in the same way as the old one. Make sure it fits snugly. Check all connections to ensure they are secure.
Step 7: Close The Camera Housing
Once the new LED is in place, close the camera housing. Make sure all screws are tight. This keeps dust and moisture out.
Step 8: Reattach The Camera To Its Mount
Carefully reattach the camera to its mount. Use the screws you saved earlier. Ensure it is secure and stable.
Step 9: Turn The Power Back On
Now, turn the power back on. Plug in the camera or switch the circuit breaker back on. Wait a moment for the camera to boot up.
Step 10: Test The New Led
Check if the new LED works. Look for the light to turn on. If it lights up, you did it right!
Tips for Maintaining Your Lorex Camera
To keep your Lorex camera in good shape, follow these tips:
- Clean the camera lens regularly.
- Check the connections often.
- Keep the camera away from extreme weather.
- Update the camera firmware when available.
Regular maintenance helps your camera last longer.
Common Problems and Solutions
Sometimes, you may face issues with your Lorex camera. Here are some common problems and their solutions:
| Problem | Solution |
|---|---|
| LED does not turn on | Check connections and replace LED if needed. |
| Camera not recording | Check the storage device and restart the camera. |
| Poor image quality | Clean the lens and check settings. |
| Camera keeps disconnecting | Check the Wi-Fi signal or wired connections. |
These solutions can help you fix common issues.
When to Call a Professional
Sometimes, it’s best to call a professional. If you are unsure about changing the LED, get help. Here are some signs to look for:
- You are not comfortable working with electronics.
- The camera is under warranty.
- You tried fixing it but it still does not work.
Getting help can save you time and stress.
Frequently Asked Questions
How Do I Change The Led On My Lorex Camera?
To change the LED, locate the LED settings in the camera’s menu. Adjust the brightness or turn it off.
Why Is The Led Not Working On My Lorex Camera?
Check the power connection and settings. The LED may be turned off or malfunctioning.
Can I Customize The Led Settings On Lorex Cameras?
Yes, you can customize LED settings in the camera’s app or web portal.
What Does The Led Color Mean On Lorex Cameras?
Different colors indicate camera status, like recording, standby, or alerts.
Conclusion
Changing the LED in your Lorex camera is simple. With the right tools and steps, you can do it yourself. Always remember to prioritize safety. Follow the steps carefully. With a new LED, your camera will work better.
Regular maintenance is also important. Keep an eye on your camera’s condition. If problems arise, you can try to fix them. Or, you can call for help. Enjoy using your Lorex camera for years to come!