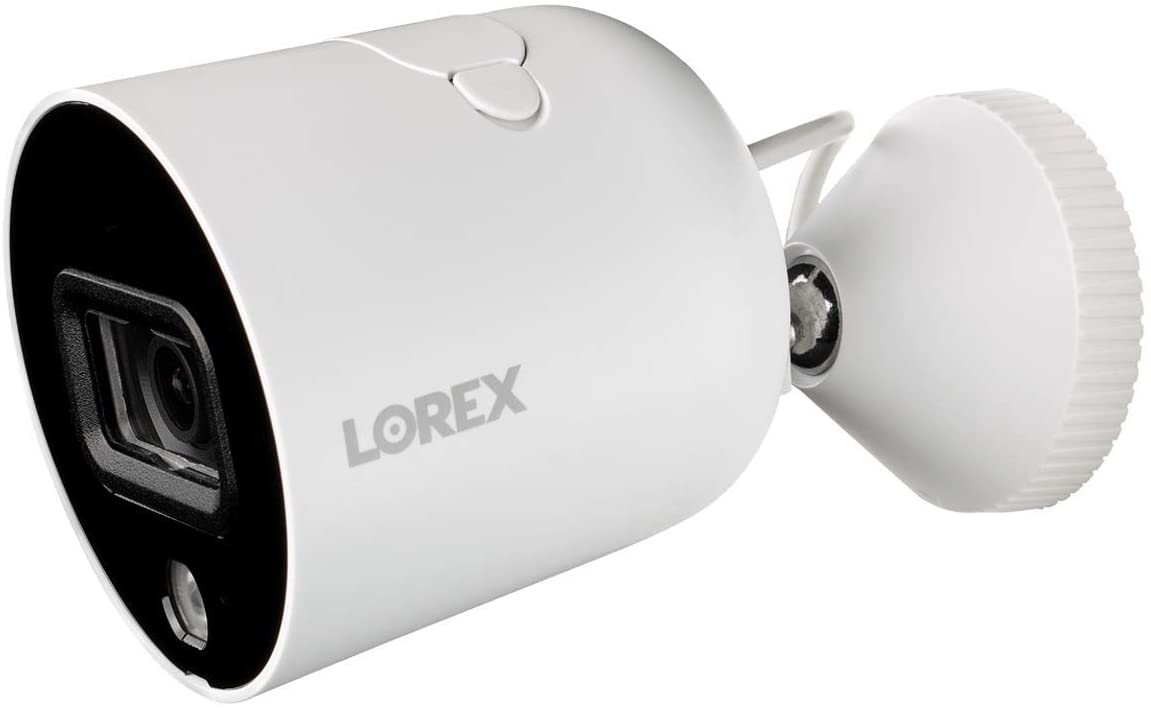
Setting up a surveillance camera can be easy. Lorex cameras are popular. They help you keep an eye on your home. In this guide, you will learn how to set up Lorex cameras step by step. This guide is for everyone. No special skills are needed. Just follow the steps below.
What You Need
Before you start, gather these items:
- Lorex surveillance camera
- Power adapter
- Ethernet cable (if needed)
- Mounting screws
- Drill (if needed)
- Smartphone or tablet
Step 1: Choose the Right Location
Choosing the right location is very important. Here are some tips:
- Pick a spot with a clear view.
- Avoid areas with too much light.
- Keep the camera out of reach.
Step 2: Install the Camera
Now it is time to install the camera. Follow these steps:
- Hold the camera to the wall.
- Mark where the screws will go.
- Drill holes for the screws.
- Use the screws to attach the camera.
Step 3: Connect the Power
Next, you need to connect the power. Here’s how:
- Find the power adapter.
- Plug one end into the camera.
- Plug the other end into an outlet.
Step 4: Connect to the Internet
If your camera needs the Internet, do this:
- Use an Ethernet cable.
- Connect one end to the camera.
- Connect the other end to your router.
Step 5: Download the Lorex App
To see the camera feed, download the Lorex app. Here’s how:
- Go to the app store on your phone.
- Search for “Lorex”.
- Download and install the app.

Step 6: Set Up the App
After downloading, open the app. You need to set it up. Follow these steps:
- Open the Lorex app.
- Sign up or log in.
- Follow the on-screen instructions.
Step 7: Add Your Camera
Now, you need to add your camera. Here’s how:
- In the app, tap on “Add Device”.
- Scan the QR code on the camera.
- Follow the prompts to finish.
Step 8: Adjust Camera Settings
Your camera has settings you can change. Here are some options:
- Change the resolution.
- Set motion detection zones.
- Adjust the recording schedule.
Step 9: Test Your Camera
After setup, it is time to test. Check if the camera works:
- Open the app.
- View the live feed.
- Check the recorded footage.
Troubleshooting Common Issues
Sometimes things don’t work perfectly. Here are some common problems:
- If the camera is offline, check the power.
- If the video is blurry, adjust the lens.
- If the app won’t open, restart your phone.
Tips for Best Use
To get the most out of your Lorex camera, follow these tips:
- Keep the camera clean.
- Regularly check for updates in the app.
- Change your passwords often for security.

Frequently Asked Questions
How Do I Connect Lorex Cameras To Wi-fi?
Connect your Lorex camera to Wi-Fi using the Lorex app. Follow the app’s instructions for setup.
What Tools Do I Need For Lorex Camera Installation?
You will need a drill, screws, and a screwdriver. A ladder may help for high places.
How Do I Mount A Lorex Camera?
Use screws to secure the camera to a wall or ceiling. Ensure it faces the desired area.
Can I View My Lorex Cameras Remotely?
Yes, use the Lorex app to view your cameras from anywhere. Just log in with your account.
Conclusion
Setting up a Lorex surveillance camera is simple. Follow these steps, and you will be done in no time. Keep your home safe with Lorex. Enjoy the peace of mind that comes with having a surveillance camera. It helps you stay alert and secure.
Remember, if you face any issues, do not hesitate to consult the Lorex support page. Happy monitoring!