Installing a Lorex surveillance camera is simple. It helps you keep your home safe. This guide will help you step by step. Let’s get started!
What You Need
- Lorex surveillance camera
- Power adapter
- Network cable
- Drill and drill bits
- Screws and anchors
- Mounting bracket
- Tools (screwdriver, tape measure)
- Smartphone or computer
Step 1: Choose the Right Location
First, pick a good spot for your camera. Consider these points:
- High enough to avoid tampering.
- A clear view of the area you want to monitor.
- Close to a power source.
- Avoid direct sunlight to reduce glare.
Step 2: Prepare to Mount the Camera
Once you choose the spot, get the tools ready. Here’s what to do:
- Hold the mounting bracket against the wall.
- Use a level to make sure it is straight.
- Mark the spots where you will drill holes.
Step 3: Drill Holes
Now, it’s time to drill. Follow these steps:
- Drill holes in the spots you marked.
- Make sure the holes are deep enough for anchors.
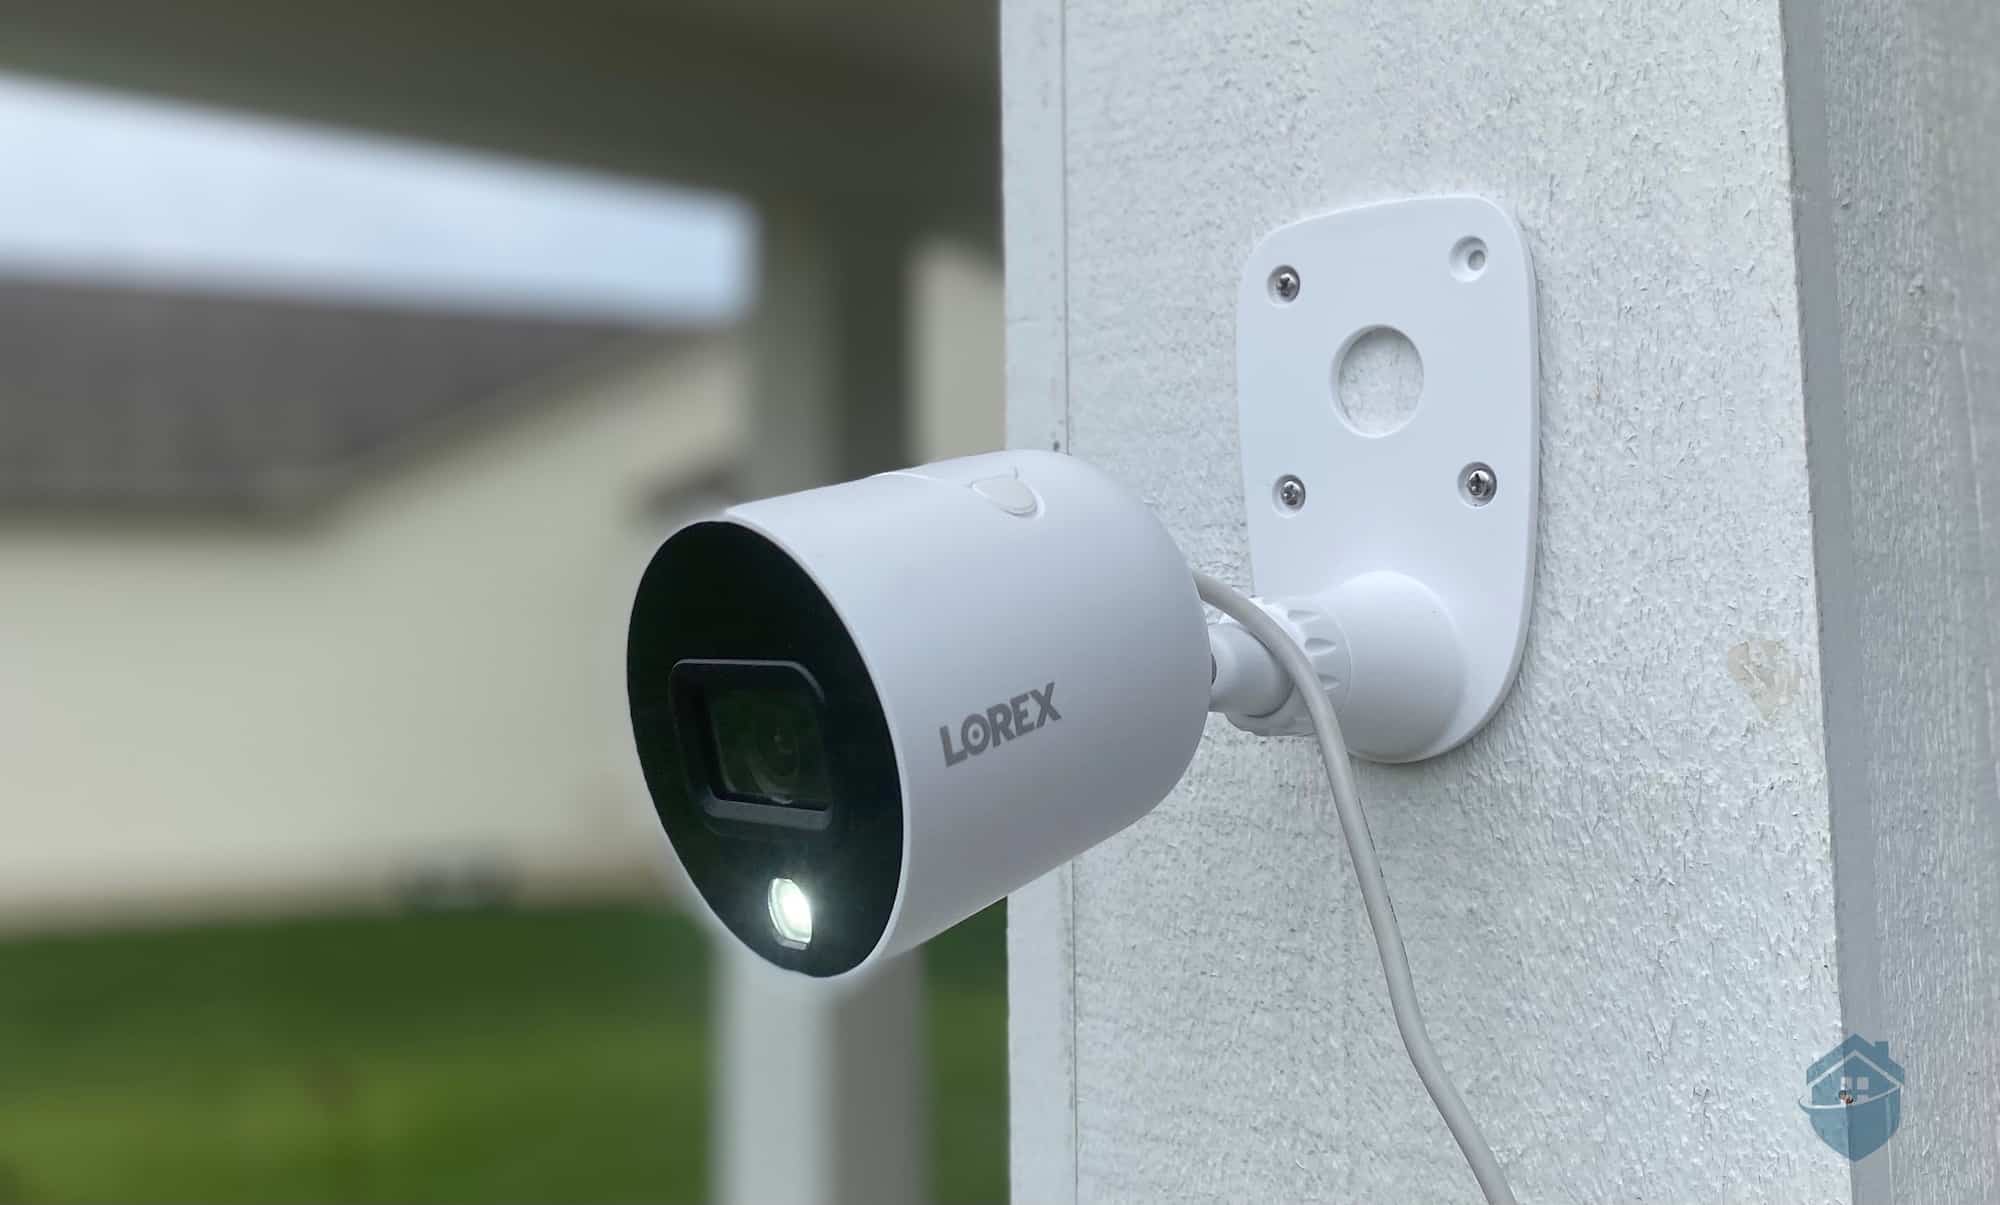
Step 4: Attach the Mounting Bracket
Next, attach the bracket to the wall. Do this:
- Insert anchors into the drilled holes.
- Use screws to secure the bracket.
Step 5: Connect the Camera
Now it’s time to connect your Lorex camera. Here’s how:
- Attach the camera to the mounting bracket.
- Plug in the power adapter to the camera.
- Connect the network cable to the camera and router.
Step 6: Adjust the Camera Angle
Adjust the camera angle for a good view. Do this:
- Loosen the screws on the bracket.
- Position the camera to cover the desired area.
- Tighten the screws to hold the camera in place.
Step 7: Set Up the Camera on Your Device
Now, you need to set up the camera on your smartphone or computer. Follow these steps:
- Download the Lorex app from the App Store or Google Play.
- Create an account or log in if you have one.
- Follow the instructions in the app to add your camera.
Step 8: Test the Camera
After setting up the camera, test it. Here’s how:
- Open the Lorex app on your device.
- Check the camera feed to see if it works.
- Adjust the angle if needed.
Step 9: Secure Your Camera
Make sure the camera is secure. Here are some tips:
- Check all screws and connections.
- Ensure the power supply is safe and dry.
Step 10: Regular Maintenance
Keep your camera in good condition. Here are some tips:
- Clean the camera lens regularly.
- Check for software updates in the app.
- Make sure the camera still has a good view.
Common Issues and Solutions
Sometimes, things can go wrong. Here are some common issues:
No Video Feed
If you don’t see any video:
- Check if the camera is powered on.
- Make sure the network cable is connected.
- Restart the camera and app.
Poor Image Quality
If the image is blurry:
- Clean the camera lens.
- Adjust the camera angle.
- Check the internet connection.
Camera Not Responding
If the camera does not respond:
- Make sure the camera is powered properly.
- Restart the device.
- Check for any software updates.
Frequently Asked Questions
How Do I Set Up My Lorex Camera?
Start by downloading the Lorex app. Follow the app’s instructions to connect the camera to your Wi-Fi.
What Tools Do I Need For Installation?
You will need a drill, screwdriver, and a level. These tools help secure the camera properly.
Can I Install Lorex Cameras Outdoors?
Yes, many Lorex cameras are designed for outdoor use. Check the specifications to ensure proper installation.
How Do I Connect Lorex Camera To Wi-fi?
Use the Lorex app. It guides you through connecting the camera to your home Wi-Fi.
Conclusion
Installing a Lorex surveillance camera is easy. Follow these steps carefully. You will have a working camera in no time. Remember to check your camera regularly. Keep your home safe and secure.
FAQs
1. How Long Does It Take To Install The Camera?
It usually takes about an hour to install.
2. Do I Need Special Tools To Install The Camera?
No, you only need basic tools like a drill and screwdriver.
3. Can I Install Multiple Cameras?
Yes, you can install as many cameras as you need.
4. What If My Camera Doesn’t Connect To Wi-fi?
Check your Wi-Fi settings and ensure the camera is within range.
5. How Do I Reset The Camera?
Press and hold the reset button on the camera for 10 seconds.
By following this guide, you can install your Lorex surveillance camera easily. Ensure you keep your camera maintained for best performance. Enjoy your newfound peace of mind knowing your home is monitored.