Nationwide Coverage
Same & Next-Day
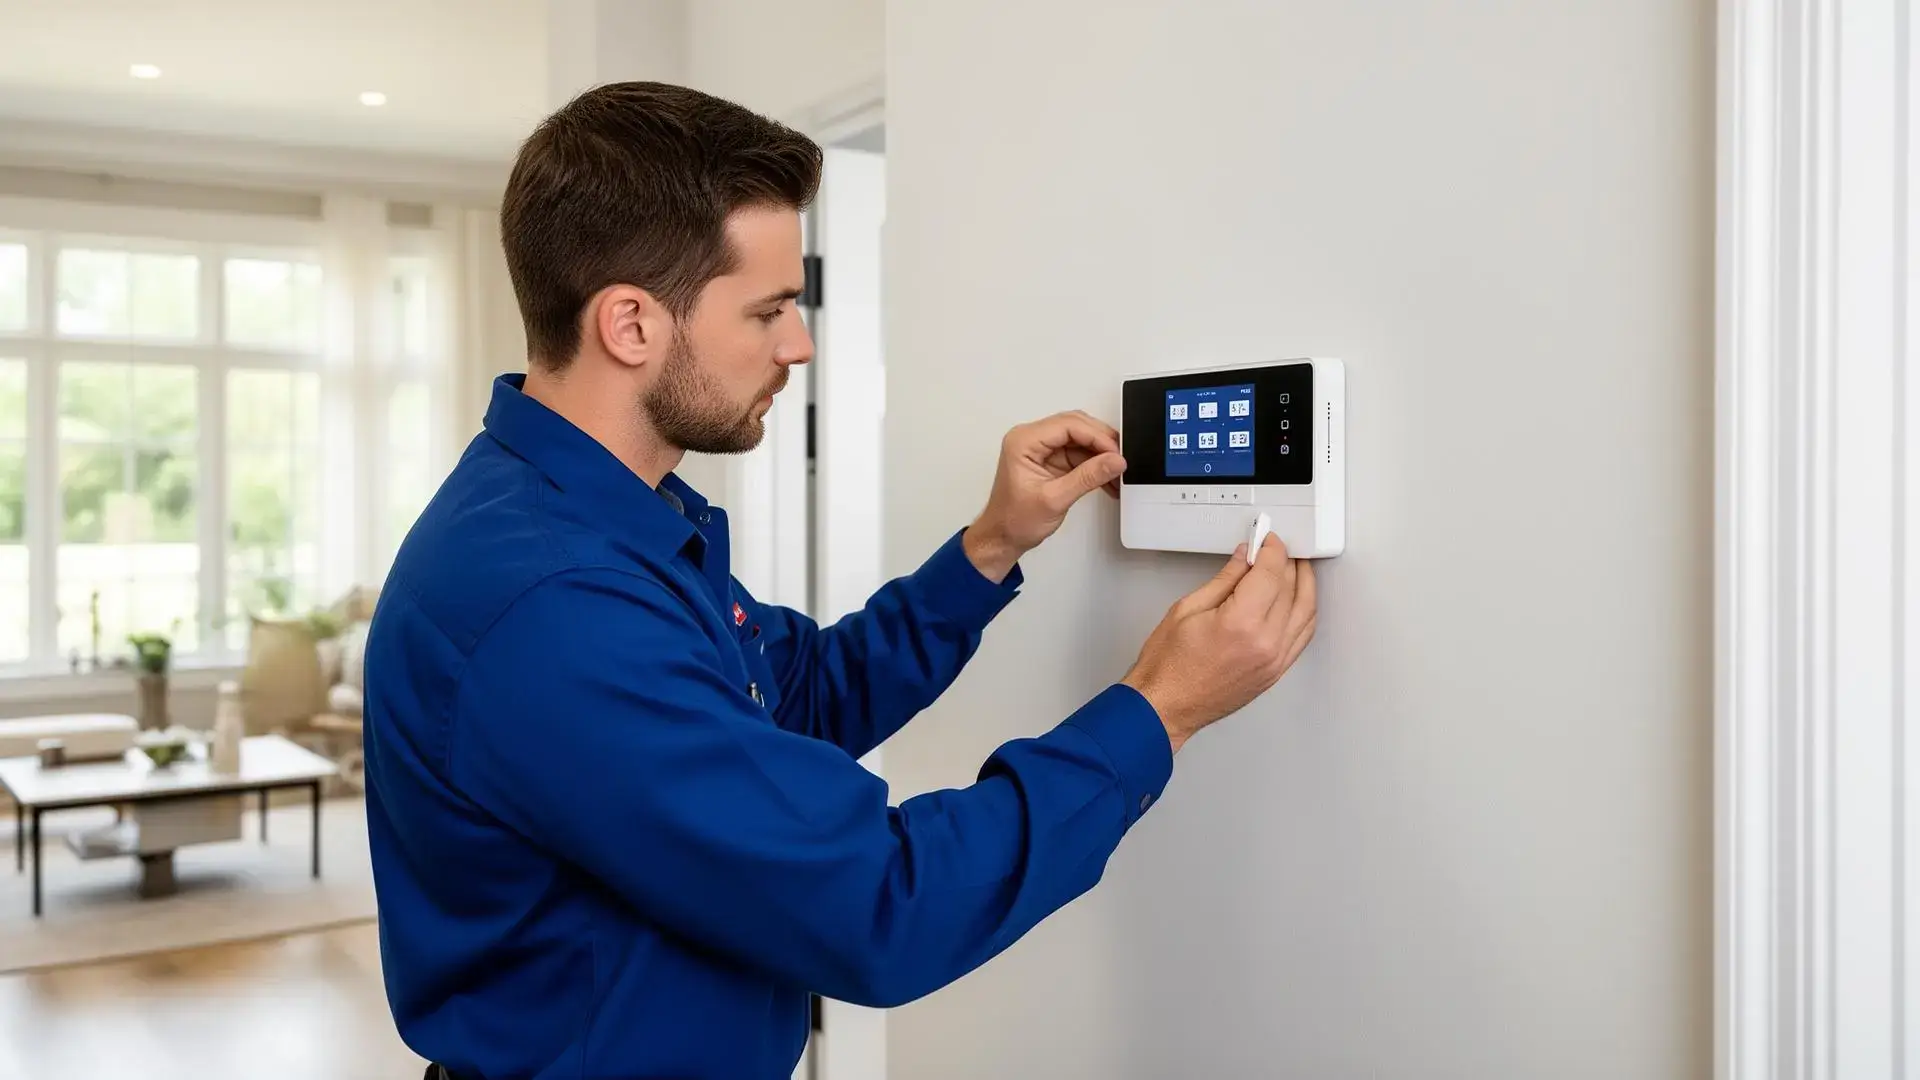
Home Security
A Local Technician is Available!
Call Now For Fast Service.
(888) 578-1077Calling to Schedule Your Security Service is Quick, Easy & Stress-Free
Experienced
Security Systems for Most Homes & Properties
Reliable
Experienced, Local Professionals
No Obligation
No-Obligation Call Flexible Scheduling
Quick
Same & Next Day Appointments
Home Security Services
Concerned about your home's safety? From alarm systems and security cameras to smart locks and motion sensors, we can connect you with local technicians who handle all your home security needs, including:
Ready to secure your home? A local technician is available today! Contact us now at (888) 578-1077 to book an appointment or request a quote.
How It Works
Call Us
Simply give us a call and we will instantly connect you with a nearby security specialist who can address your home security needs.
Schedule Your Service
After connecting your phone call, a security technician will answer any questions and provide flexible appointment times to choose from.
Your Home Is Secured
Once your technician arrives, they will assess your property and provide an estimate. If you decide to proceed, they will complete the installation from start to finish.
Why Call Us?
Same & Next Day Service
Need your security system installed today? We've got you covered. Whether it's late at night or early in the morning, a local technician is available to answer the phone around the clock.
Fast Installation
Technicians can often complete residential security installations on the same day of the service call, so your home is protected without delay.
No-Obligation
When your technician arrives, they can provide accurate pricing so you can make an informed decision before work begins. No pressure, no surprises.
Here When You Need Us
Scheduling your home security service shouldn't be difficult. Our local technicians offer convenient appointment times that can accommodate your busy schedule, day or night, 7 days a week.
Frequently Asked Questions
Protect Your Home Today
Don't wait until it's too late. Call now and get connected to a local security technician who can help safeguard your home and family.
(888) 578-1077