Adding a camera to your Lorex system is easy. You can do it step by step. This guide will help you through the process. It covers all you need to know. Let’s get started!
What is Lorex?
Lorex is a brand of security cameras. They help keep your home safe. Many people use Lorex cameras. They offer good quality and features. You can use them for indoor or outdoor security.
Types of Lorex Cameras
There are different types of Lorex cameras. Each type has its own features. Here are some common types:
- Wired Cameras
- Wireless Cameras
- Bullet Cameras
- Dome Cameras
- PTZ Cameras
Why Add a Camera?
You may want to add a camera for many reasons. Here are a few:
- To see who is at your door.
- To monitor your kids while they play.
- To keep an eye on your pets.
- To watch over your home when you are away.
Before You Start
Before adding a camera, you need a few things:
- A Lorex security system.
- A compatible camera.
- Power source for the camera.
- Internet connection (for some models).
Steps to Add a Camera to Lorex
Follow these simple steps to add a camera:
Step 1: Choose The Right Location
Pick a good spot for your camera. Make sure it can see a wide area. Avoid placing it in a dark corner. Good light helps the camera see better.
Step 2: Connect The Camera
Now, connect the camera to your system.
- If you have a wired camera, use the cable. Plug one end into the camera. Plug the other end into the DVR or NVR.
- If you have a wireless camera, make sure it is powered on. Follow the steps for your specific model.
Step 3: Power On The Camera
Once connected, turn on the camera. Check that the power indicator lights up. This shows that the camera is on and working.
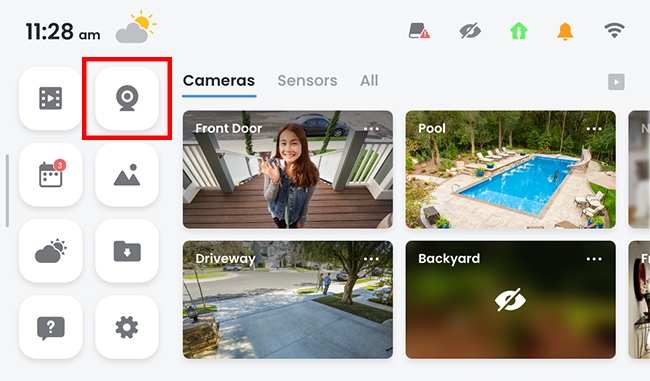
Step 4: Access The Lorex System
Use your computer or mobile device. Open the Lorex app or website. Log in to your account. If you do not have an account, you must create one.
Step 5: Add The Camera
Now, it is time to add the camera.
- In the app, look for “Add Device” or “Add Camera.”
- Click on it to start the process.
- Follow the on-screen instructions. It may ask for the camera’s serial number.
- Enter the serial number if needed.
Step 6: Configure Camera Settings
After adding the camera, configure its settings.
- Set the camera name.
- Choose the video quality.
- Adjust motion detection settings if needed.
Step 7: Test The Camera
Once everything is set, test the camera. Open the live view in the app. Make sure you can see the camera feed. Check for clear images and sound.
Troubleshooting Common Issues
Sometimes, things may not work as planned. Here are some common problems and solutions:
Camera Not Found
If your camera does not show up:
- Check the power connection.
- Ensure the camera is connected to the same network.
- Restart your Lorex system.
Poor Image Quality
If the image is blurry:
- Check if the lens is clean.
- Adjust the camera angle.
- Increase the video quality in settings.
Connection Issues
If the camera disconnects often:
- Move the camera closer to the router.
- Check for interference from other devices.
- Update the firmware of your camera.
Frequently Asked Questions
How Do I Add A Camera To My Lorex System?
To add a camera, connect it to the DVR or NVR using a cable. Follow the on-screen setup instructions.
What Types Of Cameras Are Compatible With Lorex?
Lorex systems work with various IP and analog cameras. Check your model for specific compatibility.
Can I Add Wireless Cameras To Lorex?
Yes, you can add wireless cameras if your system supports them. Make sure they are compatible.
How Do I Connect Lorex Camera To Wi-fi?
Use the Lorex app. Follow the prompts to connect your camera to your Wi-Fi network.
Conclusion
Adding a camera to your Lorex system is not hard. Just follow the steps above. Choose a good location. Make sure everything is connected properly. Test the camera after setup. If you face any issues, use the troubleshooting tips.
Now you can enjoy the added security. Your home will feel safer with Lorex cameras. Stay informed about what happens around your property. Happy monitoring!
Additional Resources
If you want to learn more, check these resources:
- Lorex Official Website
- User Manual for your specific camera model
- Online forums for Lorex users
Thank you for reading! We hope this guide helps you.