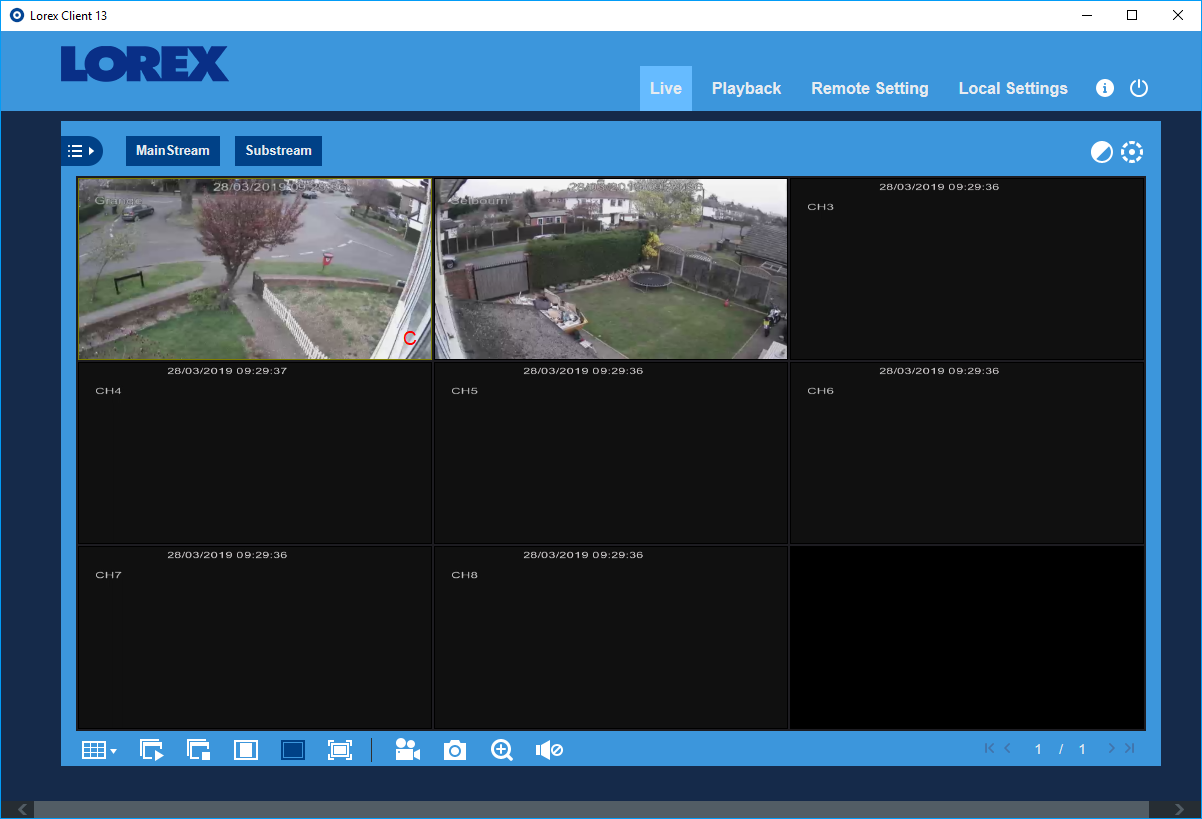
The Lorex Camera App is helpful. It helps you see what your cameras see. You can check your home or office from anywhere. This guide will show you how to set it up. It is easy and quick. Just follow the steps below.
What You Need
Before you start, make sure you have the following:
- A smartphone or tablet
- The Lorex Camera App
- An active internet connection
- Your Lorex camera system
- Your camera’s serial number
Downloading the Lorex Camera App
First, you need to download the app. Follow these steps:
- Open the App Store on your device.
- Search for “Lorex.” You will see the Lorex app.
- Tap “Download” or “Install.” Wait for it to finish.
- Open the Lorex app when it is ready.
Creating an Account
Next, you need an account to use the app. Here’s how:
- Open the Lorex app.
- Tap “Create Account.”
- Fill in the required information.
- Accept the terms and conditions.
- Tap “Sign Up.”
Adding Your Lorex Camera
Now it is time to add your camera. Follow these steps:
- Open the app and log in.
- Tap the “+” icon to add a camera.
- Choose “Add Device.”
- Scan the QR code on your camera or enter the serial number.
- Follow the prompts to connect the camera.
Your camera should now be added to the app.
Connecting to Wi-Fi
Your Lorex camera needs Wi-Fi. Here’s how to connect:
- Open the app and select your camera.
- Tap “Settings.”
- Choose “Wi-Fi Settings.”
- Select your Wi-Fi network from the list.
- Enter your Wi-Fi password.
- Tap “Connect.”
Wait for a few moments. Your camera should connect to Wi-Fi.
Adjusting Camera Settings
Now, you can adjust your camera settings. Here are some options:
- Change the camera name.
- Adjust motion detection settings.
- Set up alerts for motion.
- Change the video quality.
Make changes according to your needs. This helps you get the best use from your camera.
Viewing Live Feed
You can now view your camera’s live feed. Here’s how:
- Open the Lorex app.
- Log in to your account.
- Select your camera from the list.
- Tap “Live View.”
You should see what your camera sees. This is a great way to keep an eye on things.
Recording Videos
Your Lorex camera can record videos. You can save important moments. Here’s how to record:
- Open the app and select your camera.
- Tap on “Record.”
- Choose the duration for the recording.
- Tap “Start Recording.”
Make sure you have enough storage on your device. This way, you can save your recordings.

Viewing Recorded Videos
To watch recorded videos, follow these steps:
- Open the Lorex app.
- Tap on the “Playback” option.
- Select the date you want to check.
- Choose the video you want to watch.
You can pause, rewind, or fast forward the video.
Troubleshooting Common Issues
Sometimes, problems may occur. Here are some common issues and fixes:
- Camera Not Connecting: Check your Wi-Fi settings. Ensure the camera is powered on.
- App Crashing: Restart the app. If that fails, restart your device.
- No Live Feed: Ensure your internet is working. Check the camera’s connection.
If problems continue, consult the user manual or contact support.
Final Thoughts
Setting up the Lorex Camera App is simple. With just a few steps, you can monitor your home or business. You can access live feeds and recordings. Adjust settings according to your needs.
Remember to keep your app updated. This ensures you have the latest features. Enjoy using your Lorex camera!
Frequently Asked Questions
How Do I Download The Lorex Camera App?
You can find the Lorex Camera App in the Apple App Store or Google Play Store. Just search for “Lorex. “
What Devices Support The Lorex Camera App?
The Lorex Camera App works on most smartphones and tablets. It supports both iOS and Android devices.
How Do I Create An Account On The Lorex App?
Open the app, click on “Sign Up,” and follow the prompts to enter your details.
Can I View My Lorex Cameras Remotely?
Yes, you can view your cameras from anywhere using the Lorex Camera App.