Setting up a Lorex camera can be easy. This guide will help you. We will break it down into simple steps. You can follow these steps to get started. Lorex cameras help keep your home safe. They let you see what is happening outside. Let’s begin!
What You Need
Before you start, gather the following items:
- Lorex camera
- Power adapter
- Ethernet cable (if needed)
- Smartphone or tablet
- Wi-Fi connection
- Computer (optional)
Step 1: Choose a Good Location
Pick a good spot for your camera. Here are some tips:
- Mount the camera high. This helps prevent tampering.
- Point it toward the area you want to monitor.
- Make sure there is good Wi-Fi signal.
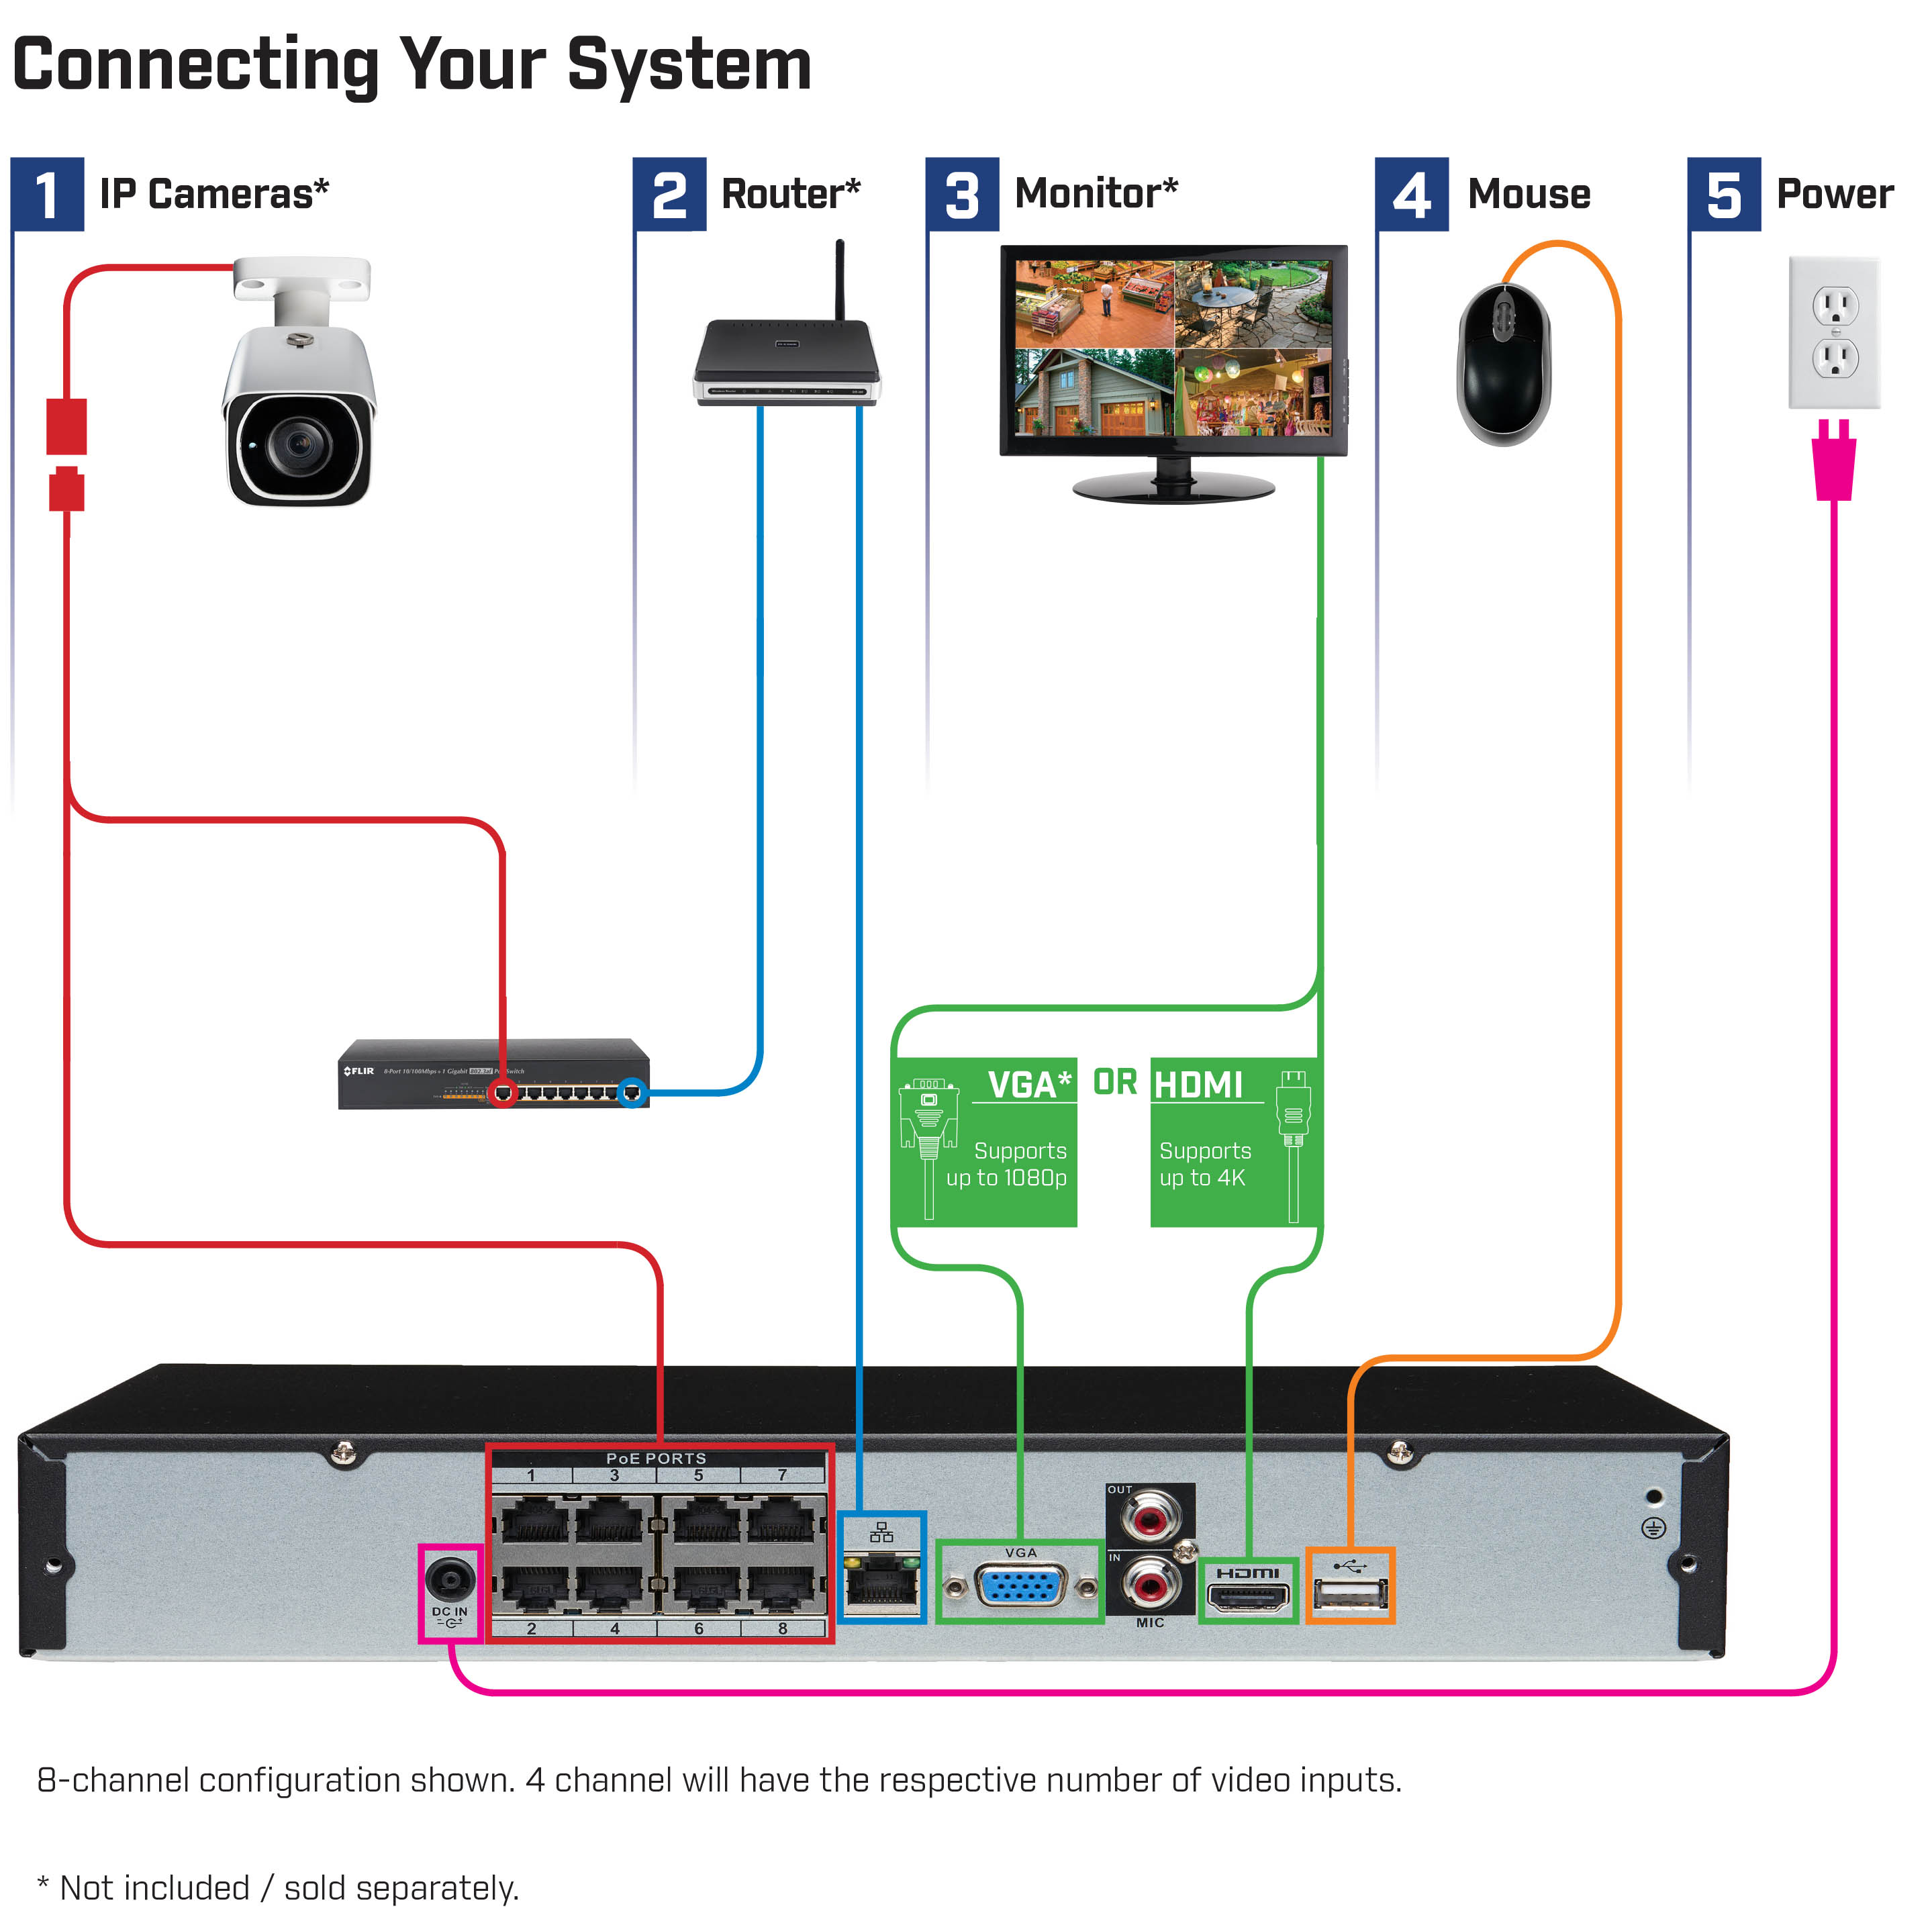
Step 2: Connect the Camera
Next, connect your Lorex camera. Here’s how:
- Plug the power adapter into the camera.
- Connect the other end to a power outlet.
- If using Ethernet, connect the cable to the camera.
- Connect the other end to your router.
Step 3: Download the Lorex App
The Lorex app helps you see your camera. Follow these steps:
- Go to the App Store or Google Play.
- Search for “Lorex.”
- Download and install the app.
Step 4: Create an Account
You need an account to use the app. Here’s how to create one:
- Open the Lorex app.
- Click on “Create Account.”
- Enter your email and create a password.
- Follow the prompts to complete the setup.
Step 5: Add Your Camera to the App
Now, add your camera to the app. Follow these steps:
- Open the Lorex app.
- Click on “Add Device.”
- Choose “Camera.”
- Follow the on-screen instructions.
Step 6: Connect to Wi-Fi
It’s time to connect your camera to Wi-Fi:
- In the app, select your Wi-Fi network.
- Enter your Wi-Fi password.
- Click “Connect.”
Step 7: Adjust Camera Settings
You can change settings to suit your needs:
- Set motion detection alerts.
- Adjust video quality.
- Change recording schedules.
Step 8: Test Your Camera
After setup, test your camera:
- Open the Lorex app.
- Select your camera.
- Check the live feed.
If you see the feed, it works! If not, check your connections.
Step 9: Secure Your Camera
Keep your camera safe from hackers. Here are some tips:
- Change the default password.
- Use a strong password.
- Keep the app updated.
Common Issues and Solutions
Sometimes, you may face issues. Here are some common problems:
| Issue | Solution |
|---|---|
| No video feed | Check power and Wi-Fi connections. |
| Camera not found | Ensure the camera is on and connected. |
| App won’t open | Restart your device and try again. |
Frequently Asked Questions
How Do I Start Setting Up My Lorex Camera?
Begin by unpacking your Lorex camera and reviewing the user manual.
What Tools Do I Need For Installation?
You will need a drill, screwdriver, and a level for installation.
Can I Set Up Lorex Camera Without Wi-fi?
Yes, you can connect via Ethernet cable for a wired setup.
How Do I Connect My Lorex Camera To The App?
Download the Lorex app, create an account, and follow the prompts to add your camera.
Conclusion
Setting up a Lorex camera is simple. Follow these steps carefully. You will be able to monitor your home. Remember to secure your camera. This keeps your information safe. Enjoy the peace of mind that comes with security!